
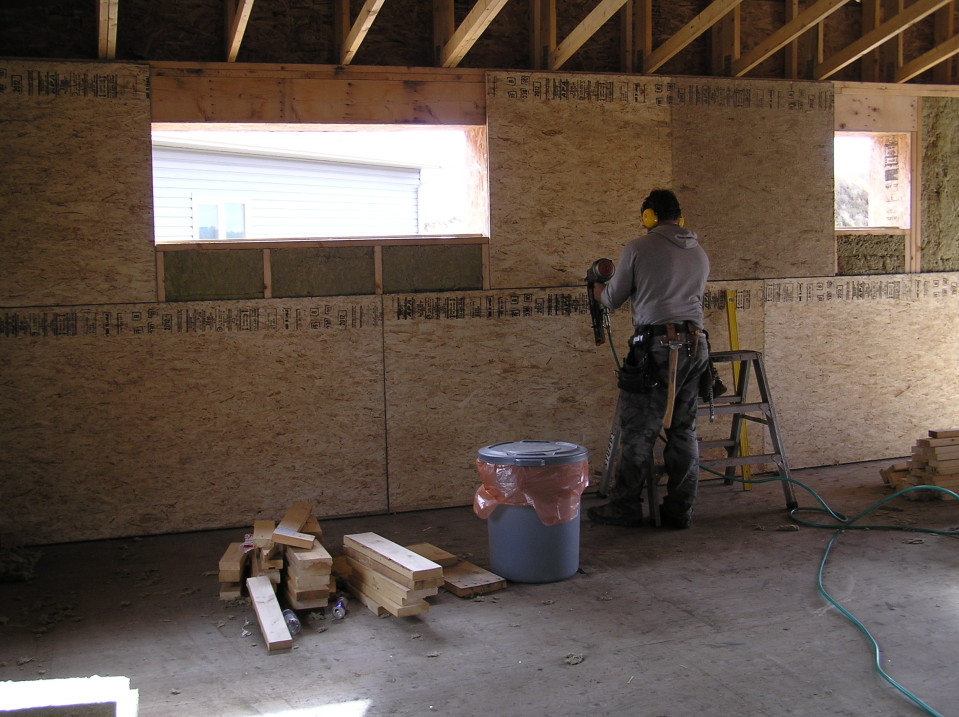
Insulation and Sheathing
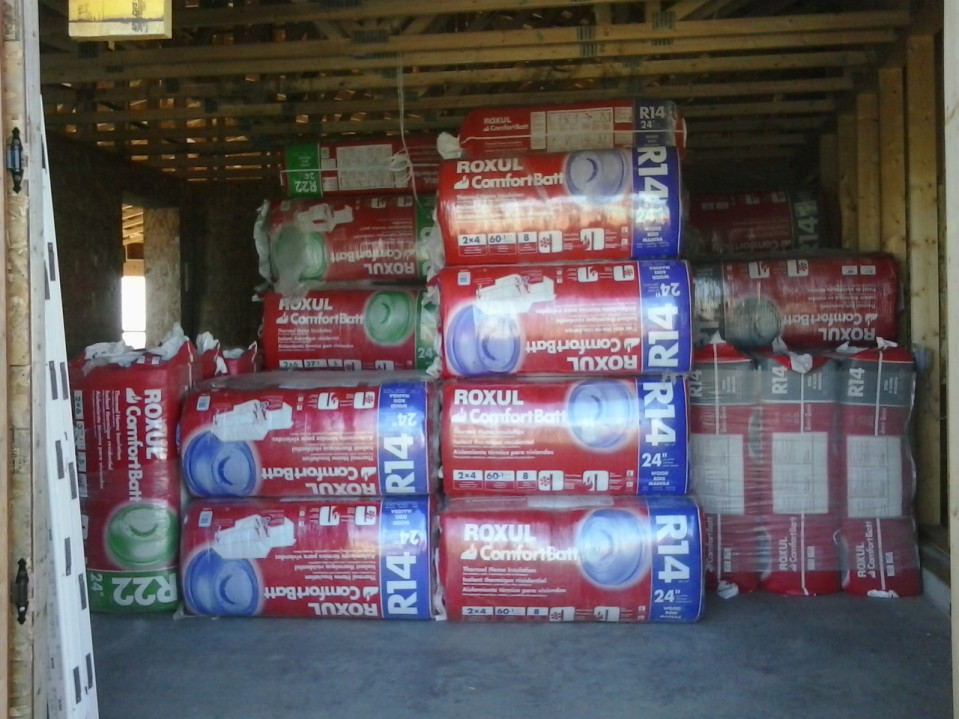
Passive Houses are super-insulated. Thick walls and a generous roof cavity accommodate the unusually large amounts of insulation critical to achieving the efficiencies needed to meet the standard. The Cottonwood Passive House is designed with R-54 foundation walls, R-75 above-grade walls, and an R-95 roof. To most ears, these number will likely sound absurd, but it’s what you need to build a house that you can basically heat with a hairdryer. EPS insulation was used on the foundation. Above grade, we’re using Roxul semi-rigid insulation in the walls, and blow-in cellulose in the roof.
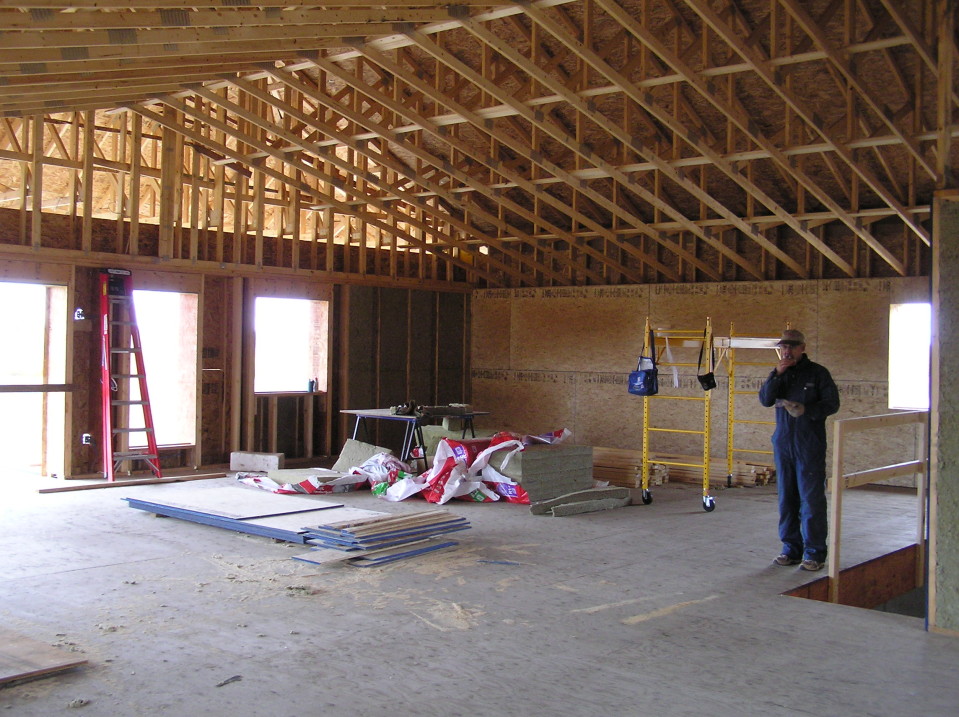
That much insulation fills up a garage quickly. Better get to work!
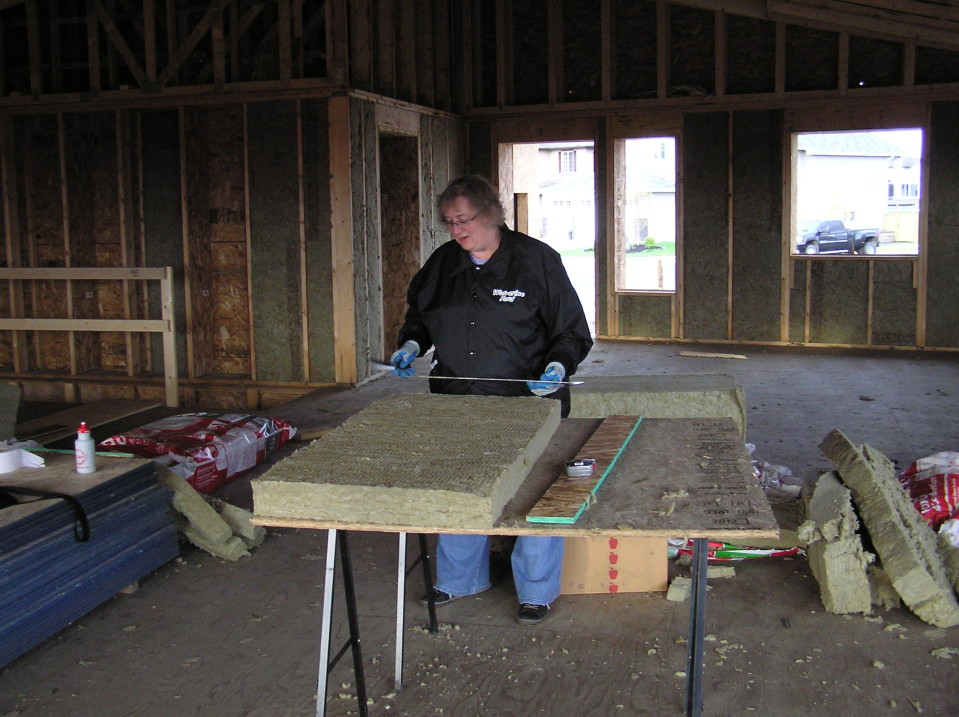
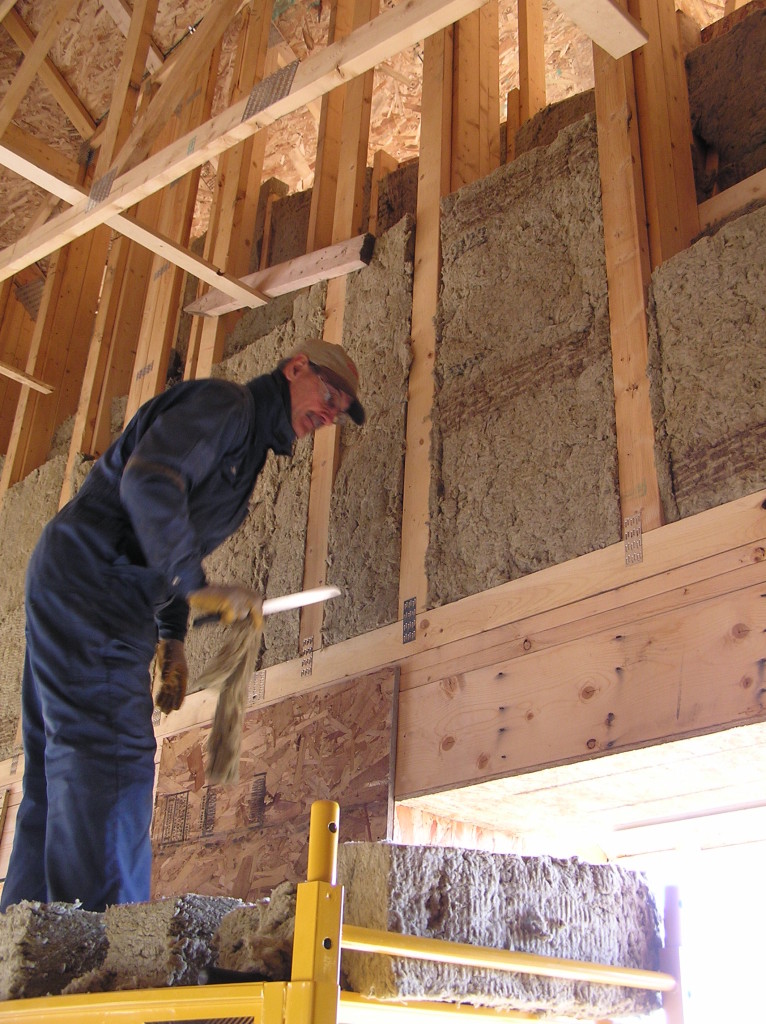
Roxul turns out to have a consistency like bread, which meant a bread knife happens to be a handy cutting tool. Emilie demonstrates:
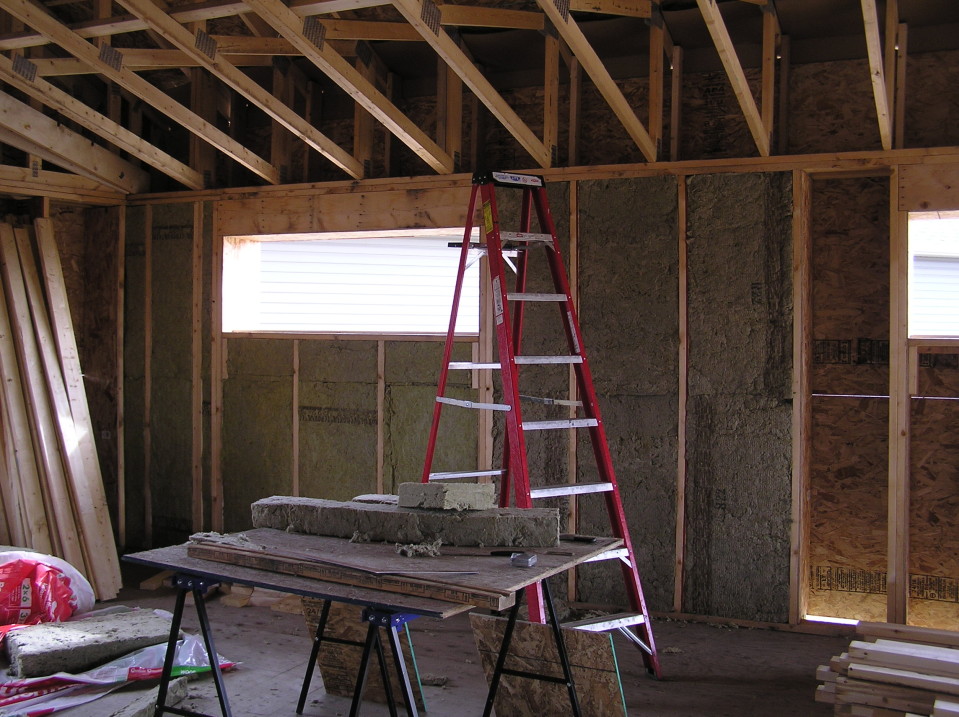
A typical wall, with 16″ of insulation installed:
Jim making sure to get into all the hard-to-reach places…

Due to the construction sequencing, some of the insulation needed to be installed from the exterior.

This is Jim and Emilie’s son-in-law, Mike, giving a helping hand with the install.

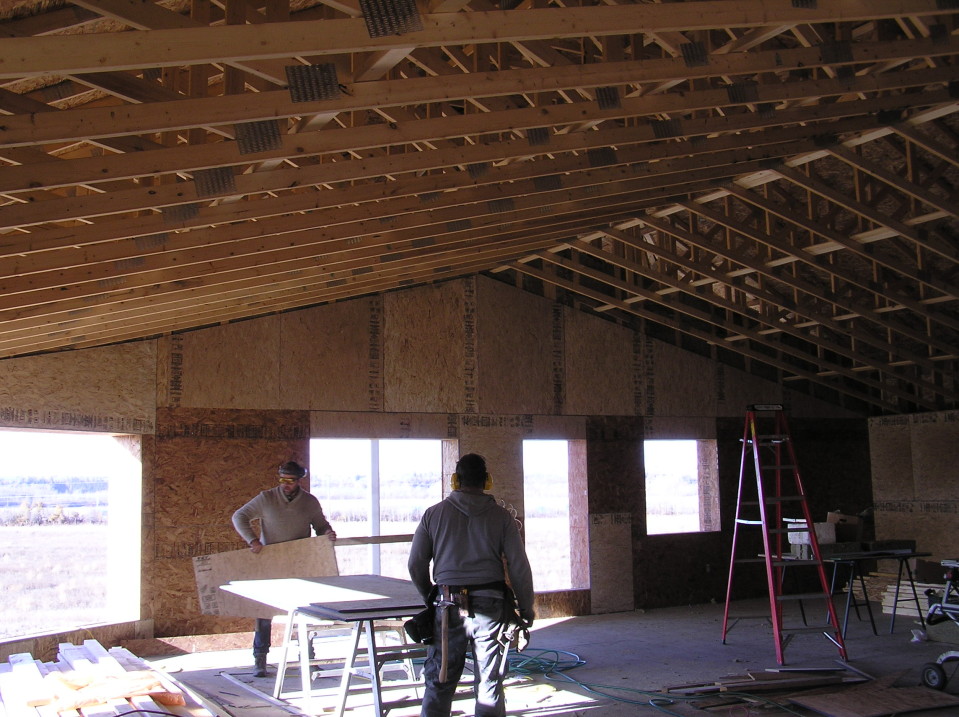
The interior sheathing followed right behind the insulation. The main air/vapour barrier uses a system of 5/8″ OSB with all the joints sealed using special airsealing tape, which we’ve already seen previously.
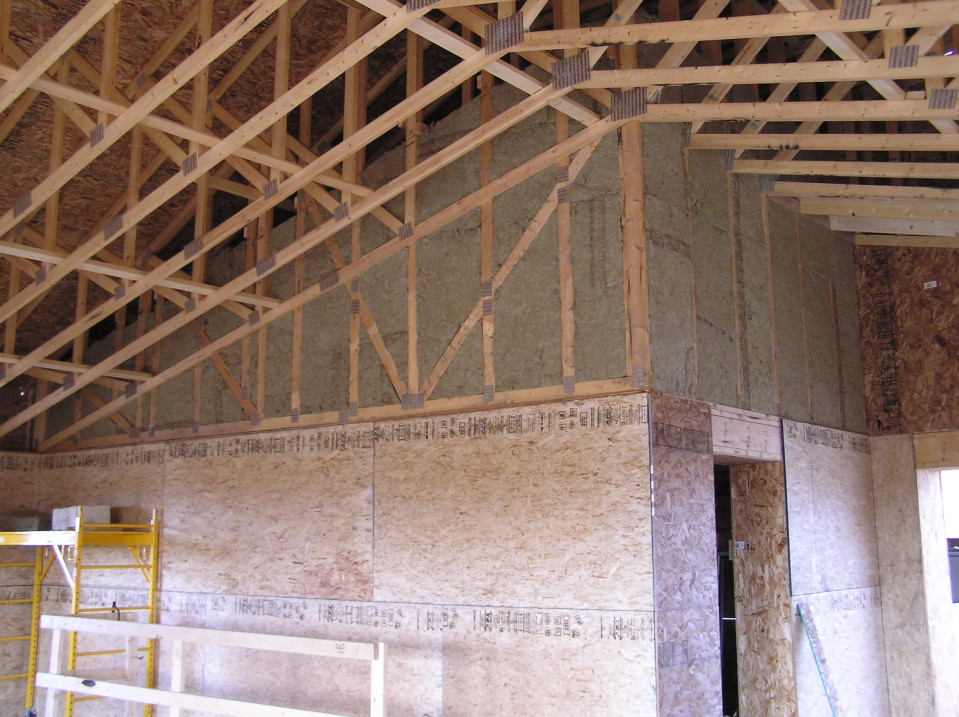
More interior sheathing:
A view towards the southwest, where the a bedroom/main floor laundry will be.
And toward the living room.

Jim, with his trusty bread knife.
Finishing up the interior sheathing:
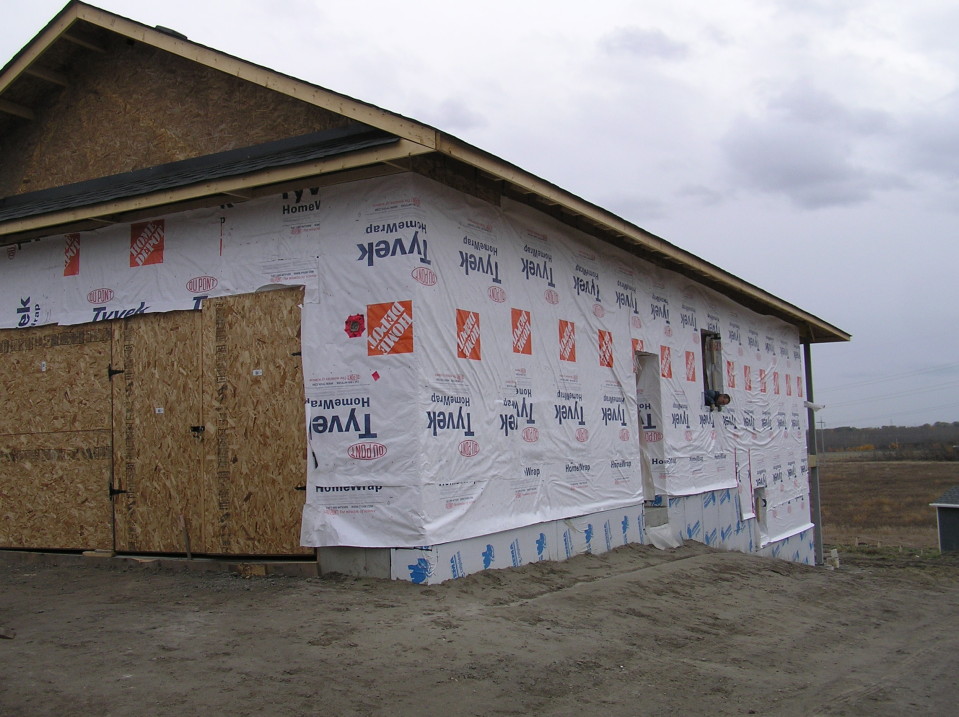
A vapour-permeable weather barrier (i.e. Tyvek) is installed on the exterior. Technically, since the air/vapour barrier already exists, so the Tyvek will be the second line of defense against exterior moisture behind the cladding. With the air/vapour barrier close to the interior, the reality is that we actually want to promote drying of the wall cavity toward the exterior. This is the northwest elevation with the garage at left:
Previous: Roof Installation Next: Our story: why we chose to build a Passive House
Hi, very nice work. A couple of questions.
1) For the foundation, did you find any issues making the ground flat enough to allow the EPS to sit so as to take the weight of the foundation (and also later for the basement floor)?
2) For the vapour barrier, you’ve used 5/8″ OSB. I don’t see any poly, so I am presuming that the OSB with paint will provide the vapour barrier. For sure (to my eye) it will be a strong air barrier, but was wondering how it met as a vapour barrier and why you did not use a poly layer?
3) did you consider drain water heat recovery as an option? (eg. Synergensystems.com right here in Edmonton makes a high performance version and also provides standard passive dwhr exchangers).
Thanks for the website, very informative.
David
During excavation, at a certain depth the ground became very hard, so I think they had an OK time levelling it out. We also allowed for there to be some variation there, and just ensured that the top-of-footing elevation was consistent, with lower parts just having a bit thicker concrete.
For the OSB air/vapour barrier, 5/8″ thickness is required to meet the code-required maximum of 1 perm (see this popular link: http://osbguide.tecotested.com/pdfs/en/tb111.pdf). Structurally, typical 7/16″ OSB is all that’s needed, but we had to upgrade to get the vapour tightness. From a building envelope perspective, it’s generally now understood that much more water passes into building assemblies via infiltration/exfiltration rather than pure vapour diffusion, so the airtightness is in some sense more important than vapour tightness. (This is a good PDF that covers some AB/VB strategies.) That said, one could also add a poly vapour barrier behind the OSB, but it would be a fair amount of additional work and somewhat redundant. It is possible to get good airtightness with a poly layer, but it requires great care and quality control.
We didn’t look at drain water heat recovery. I was unaware these were being marketed for residential use until the Passive House North 2013 conference at the end of September… [DZ]
Wondering what drove the decision to use the Roxul insulation for the walls instead of a blown in cellulose like you did in the roof?
Hi Kyle. Thanks for the question. We were advised to expect ~12% less R-value using blown-in cellulose compared to Roxul, though this probably depends on the various products in question. In the certification process, we’re using R-3.9/in for Roxul (0.037 W/mK) and R-3.13/in for generic cellulose (0.046 W/mK), so the difference is actually even greater. The typical wall assembly has ~16″ of Roxul (R-62.4), which would have required almost 20″ of cellulose to achieve the same R-value. (This is an estimated calculation, not including the insulated installation cavity or the overall effective R-value of the wall due to framing, etc.) In the roof, we have plenty of attic space for insulation, so the increased thickness was less of a concern, though we had to be mindful of the weight.
While we designed the stud spacing to fit pre-cut widths of Roxul, the reality was that the framing was not quite so precise. There ended up being quite a bit of extra labour cutting and fitting the Roxul into all the wall cavities. Given that we did all the insulation installation ourselves, this was OK, but if you’re paying an installer, cellulose might be the better option from cost-benefit perspective. It really depends on what your project is trying to achieve. [DZ]
Did you install the 5/8″ sheathing to the underside of your trusses and then did you just tape the seams where wall and truss meet?
The original plan was to use the same 5/8″ plywood, airsealed with the same sealing tape. However, we instead opted to use carefully sealed polyethylene sheeting for ease of installation. Photos of the ceiling poly and airsealing are still to come! [DZ]
You have spent a great deal of time and study to get to where you are. Did you ever consider the Remote Wall by the Cold Climate Housing Research Center? http://cchrc.org/docs/best_practices/REMOTE_Manual.pdf
Hi Lance. Thanks for the link. An interesting and comprehensive guide. We didn’t consider a system quite like that, though the idea of using EPS/XPS on the exterior of the sheathing layer is quite common. We did use exterior-applied EPS around the foundation, as I’m sure you saw. Since EPS has approximately the same R-value as the Roxul, we would have had to add 14″ of outboard EPS to achieve the same R-values in the typical above-grade wall assembly, which I think gets a little iffy to cantilever off a 2×4 wall and also carry cladding without extra support. [DZ]
Lance, Pasive house home building practices promote that the outer layers are vapour permeable ie can breathe while the inside layer is the vapour barrier. This means that moisture does not get trapped on the outside wall which is the coldest spot and where it can condense. Most EPS ( close Cell) is not vapour permeable. So if you put EPS on the outside of the wall assembly, it does not breathe. This is being understood more in the last several years so with green building you are seeing less and less of this. On of the issues is that there are very few building products made in Canada or the USA that that you can use that on the outside like wood fibre board. But there is a start of product being made., a wood fibre board from Calgary and in the states Hubert wood engineer products has something. If you want to put insulation on the outside of the wall to reduce the thermal breaks created by your framing, using something like Roxul comfortboard IS.
Blanche. We both live and work in a place that is almost a desert called Alberta . Yet, you are telling me that while EPS goes on in 4’x 8′ x 5-1/2″ pieces with the joints just butted and a water/ vapour barrier on the inside third on the thermal envelope that the least expensive high insulation wall assembly is not in favour by reason of some remote chance that moisture is trapped in building material that is by-in-large unaffected by moisture? We are in a world that is suffering from an inability to deal Global Climate change. We have a “Green Community” that is trying to sell the ever changing perfect green residential envelope solution when all the materials and a labour force knowledgeable in installation is at hand.
Question: What is the optimal prem rate for the insulation outside the vapour barrier. And, does that prem rate range vary with the geographic location?
Hi Lance. Placement of the vapour barrier/retarder in the assembly does depend on climate. You will often hear people say it should be on the “warm” side of the wall, but what they really mean is that it should be located to stop/minimize vapour drive through the assembly before it reaches a surface at a temperature lower than the dewpoint for a given relative humidity — where it would then condense. (e.g. warm humid interior air contacting cold dry exterior air) In some locales, with air-conditioned interiors and hot humid weather, the exterior face of wall is likely more appropriate for a vapour barrier. In moderate climates, a vapour retarder could be used, allowing drying to both the interior and exterior. I believe building codes in Canada generally require that vapour barriers be less than ~1 perm (60ng/sm^2Pa), so materials >1 perm would generally be considered “permeable,” but much higher perm ratings (>10) would be recommended if vapour drive is to be encouraged. (e.g. for drying to the exterior).
Some good resources on the topic:
Building Science Digest, BSD-106: Understanding Vapor Barriers
http://www.buildingscience.com/documents/digests/bsd-106-understanding-vapor-barriers
Vapour Barriers, Air Barriers presentation from John Straube
http://www.civil.uwaterloo.ca/beg/Downloads/CUFCA-2006-Air%20Vapor.pdf
The discussion is even more nuanced for EPS/XPS since there are closed cell vs open cell products, and the permeance also varies between Types 1, 2 and 3 EPS. The only way to be sure is to get actual product specifications from the manufacturer and consider the vapour barrier/retarder in the context of how the whole wall assembly will perform for a given project in a specific location.
Any updates? Interested in seeing the rest of the build. This site is quite helpful for those looking to build passive houses, or simply much more energy efficient ones than everyone else builds.
Hi John. We’ve all been too busy to keep this site updated with photos, but the house is basically complete now. Consider visiting us for International Passive House Days 2014! More info here: http://cottonwoodpassivehouse.ca/intl-passive-house-days-2014/