
Basement Framing and Main Floor
Now it gets interesting: framing.
We are attempting to use a fairly traditional Passive House wall assembly. This involves a 16″-thick double-stud wall (2×6 inner layer and 2×4 outer layer) with a combined air/vapour barrier installed on the inner face of the wall assembly in the form of 5/8″ OSB sheathing — which also happens to provide the structural shear support for the wall. The OSB is then sealed using special sealing tape. This tape often needs to be imported from Europe, but it is becoming much more readily available in North America.
Finally, exterior sheathing is applied, and a 2×4 installation cavity is installed on the interior side of the wall. The installation cavity is also insulated, but provides a great location inside the air barrier to install electrical, hang pictures, or do future renovations without fear of damaging the air barrier. (Sometimes the installation cavity can be done in thinner 2×3 or 2×2 framing to save floor space if the insulation value is not needed.)
In sum, the typical exterior wall assembly in this house has 19.5″ of insulation, for a total effective U-value of 0.076 W/m2K (or almost R-75) as calculated using the PHPP software.
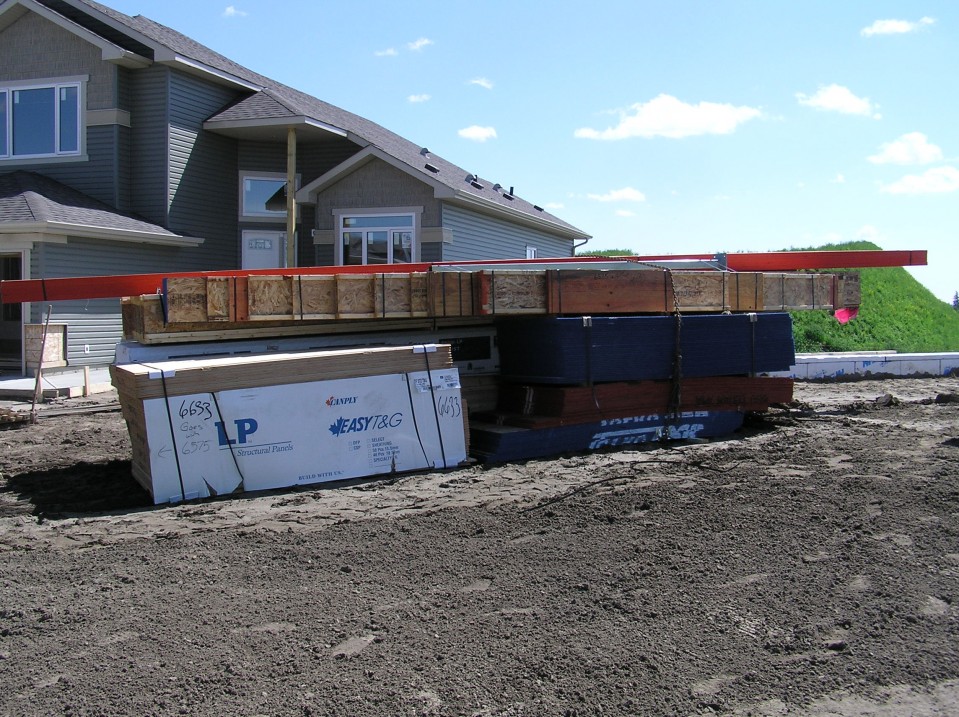
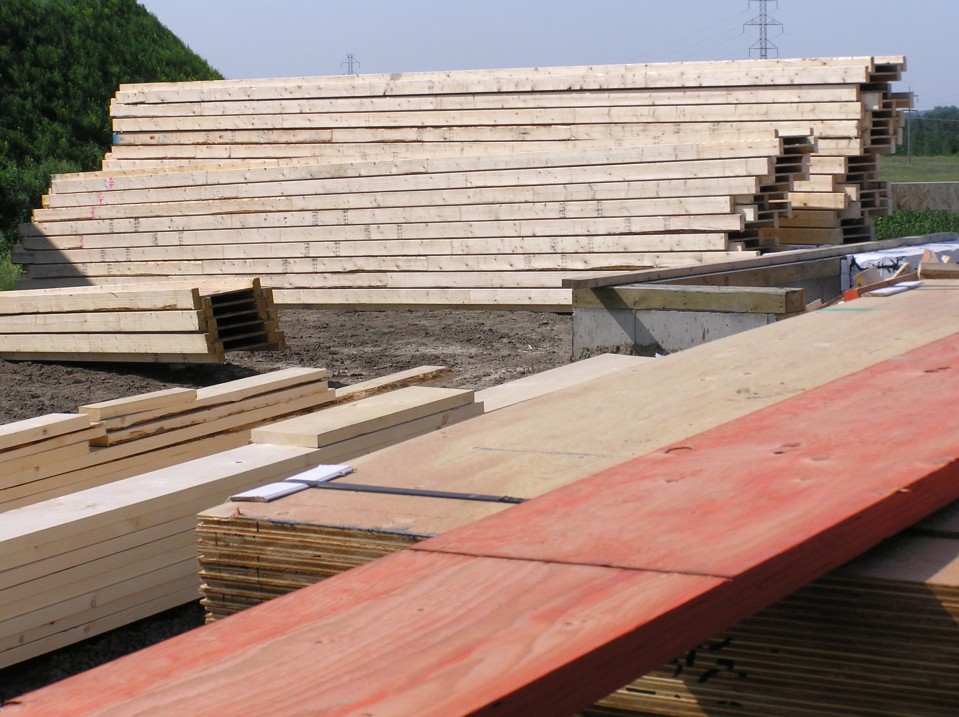
Here’s how it begins: with a pile of wood.
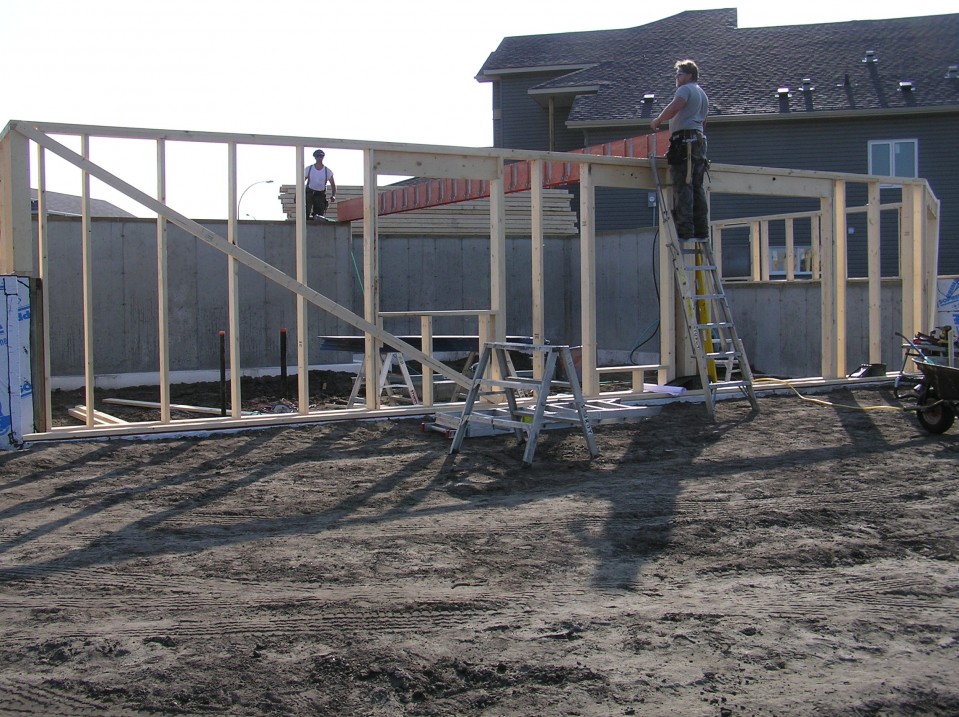
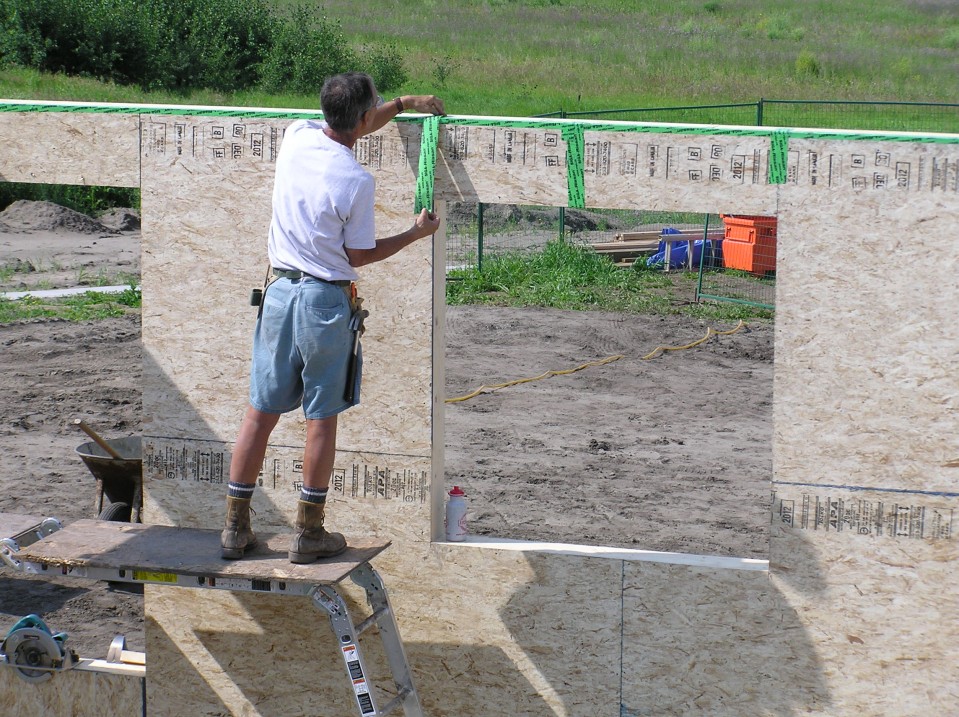
Pictured here are Adam Larson (white shirt) and Wes Hallman (grey shirt) of Lahnert Larson Design Fabrication, the framers on the job. We connected with Lahnert Larson via Peter Amerongen at Habitat Studio. These guys have been doing an excellent job. The photo shows the back of the house, of course.
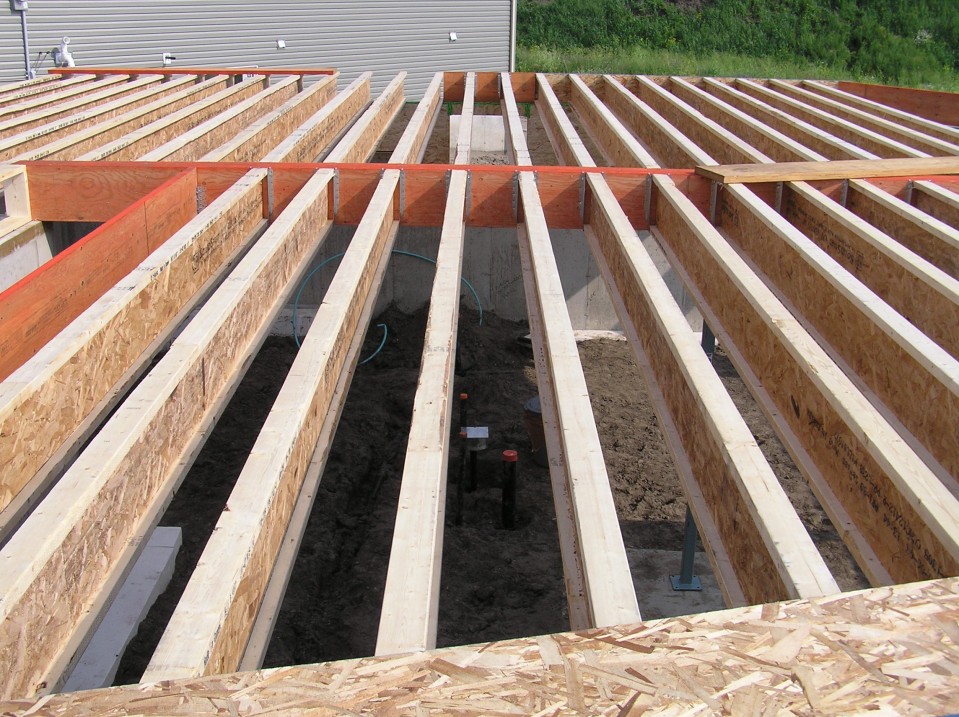
A view of the main center beam being installed.
The south-facing window looking toward what will be the basement family room, with the main floor living room above.
Jim followed behind the sheathing and applied the first pieces of the airsealing tape, to prepare for the main floor to be installed.
Lumber, and floor trusses…
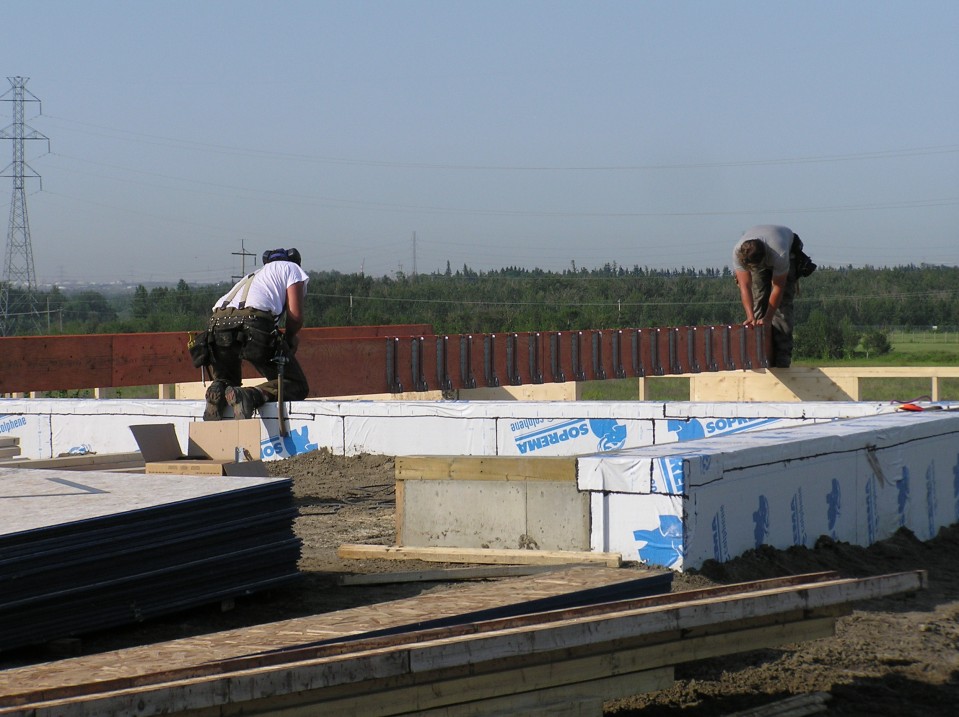
To keep the volume of the house compact but maintain a consistent 8-foot ceiling in the basement (that is, no dropped beams…), we opted to flush frame the floor joists into the main beam. It’s a bit of extra work and cost to install the hangers and line up the joists, but the end effect is much nicer, considering the floor system is 14″ deep to cover the long 22-foot spans.
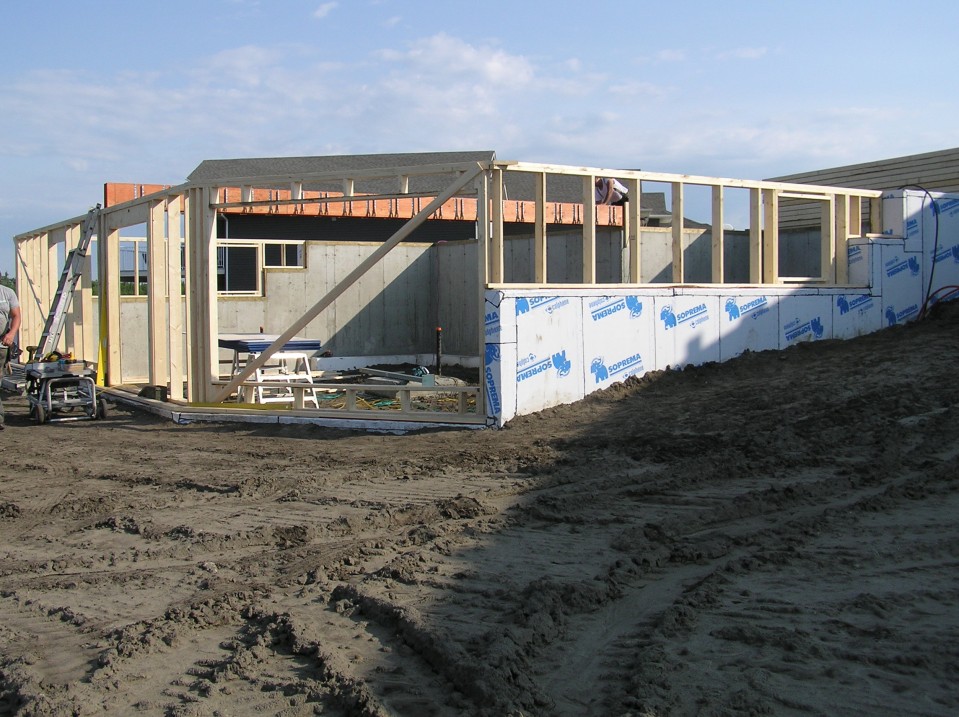
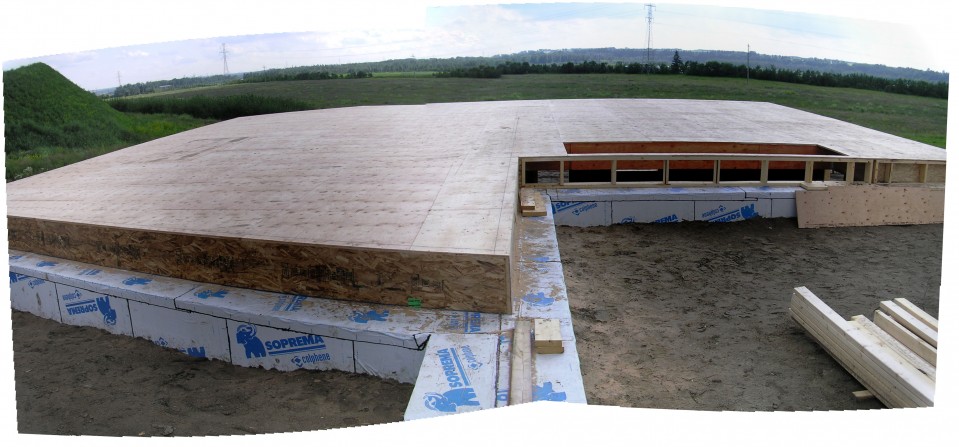
View of the basement walkout elevation.

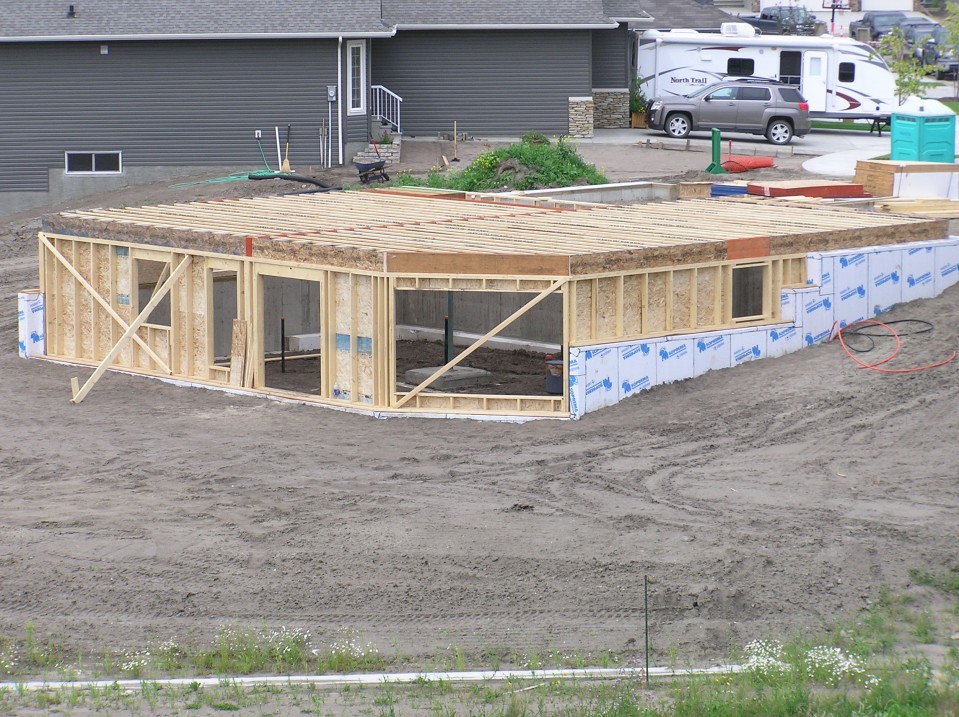
During the subdivision development and subsequent construction, a large hill of dirt was left nearby (nearly the height of two-storey house!), which has provided a great vantage point to capture the overall construction progress. Here, you can see the basement framing mostly complete, with the main floor joists installed.
Another view, showing some of the neighbourhood beyond.

With the main floor on, we finally have a flat working surface to continue with the rest of the main floor framing.
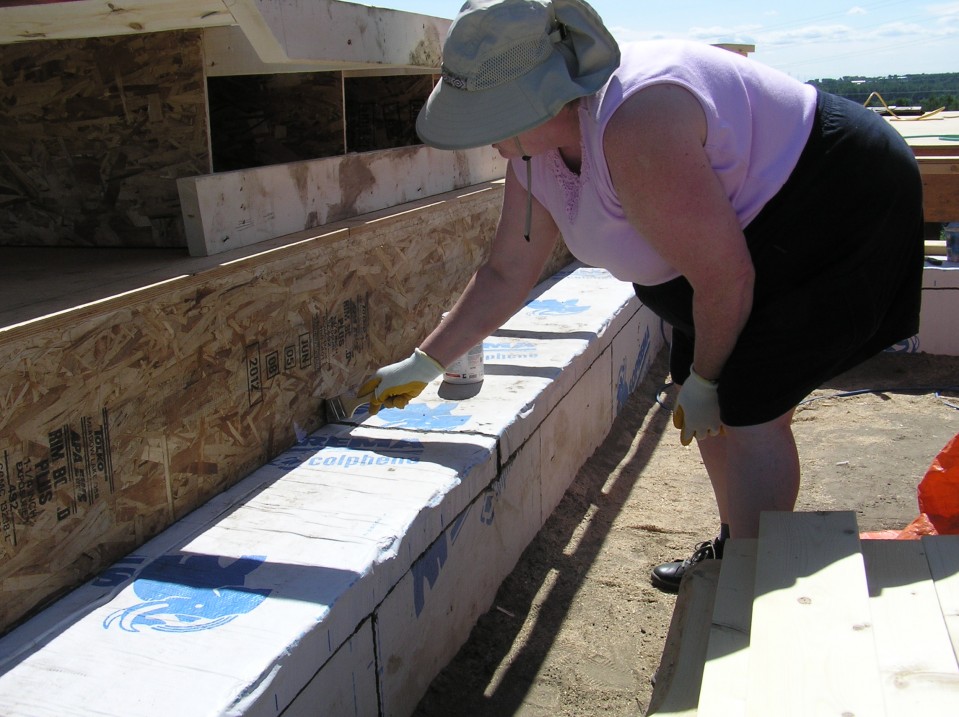
A few comments about airsealing: Since we’re targeting very high airtightness, it’s important to inspect all the airsealing joints and ensure any penetrations in the OSB air/vapour barrier are also sealed. Here, a couple nails missed their target, so they were removed/fixed and taped over. The Passive House standard requires a maximum of 0.6 air changes per hour, though it’s not uncommon for many Passive Houses to measure even lower. We’re hoping to reach 0.3 ACH.

Here’s Emilie priming some of the joints before applying the tape. The tape sticks quite well on its own, but priming ensures an even better seal.
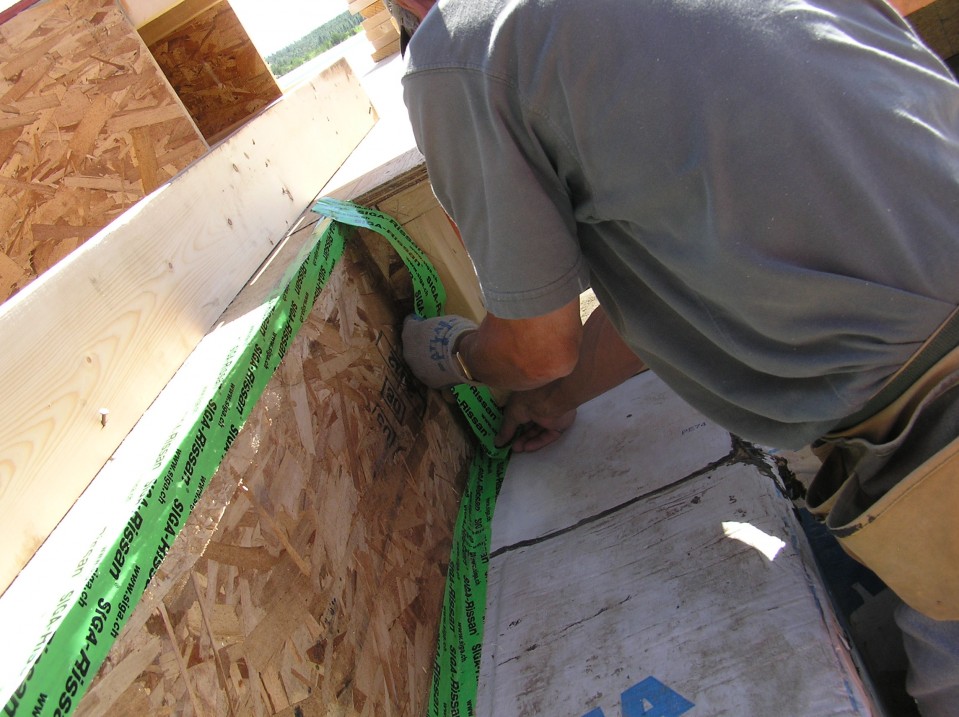
Jim applies the tape to seal up the perimeter rimboard, in anticipation of the main floor wall framing to come.
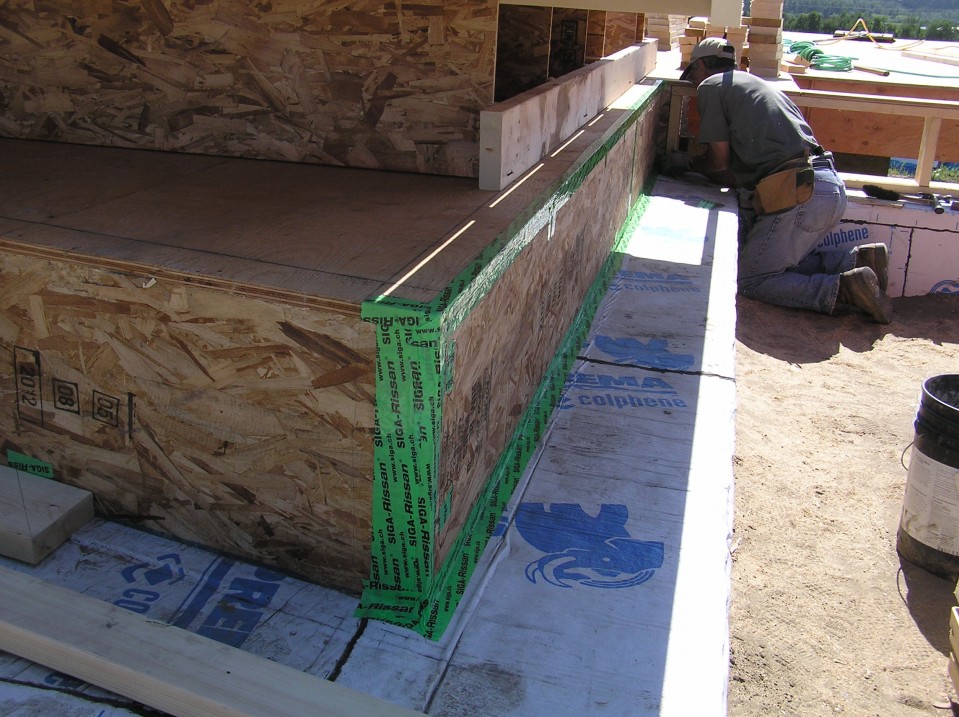
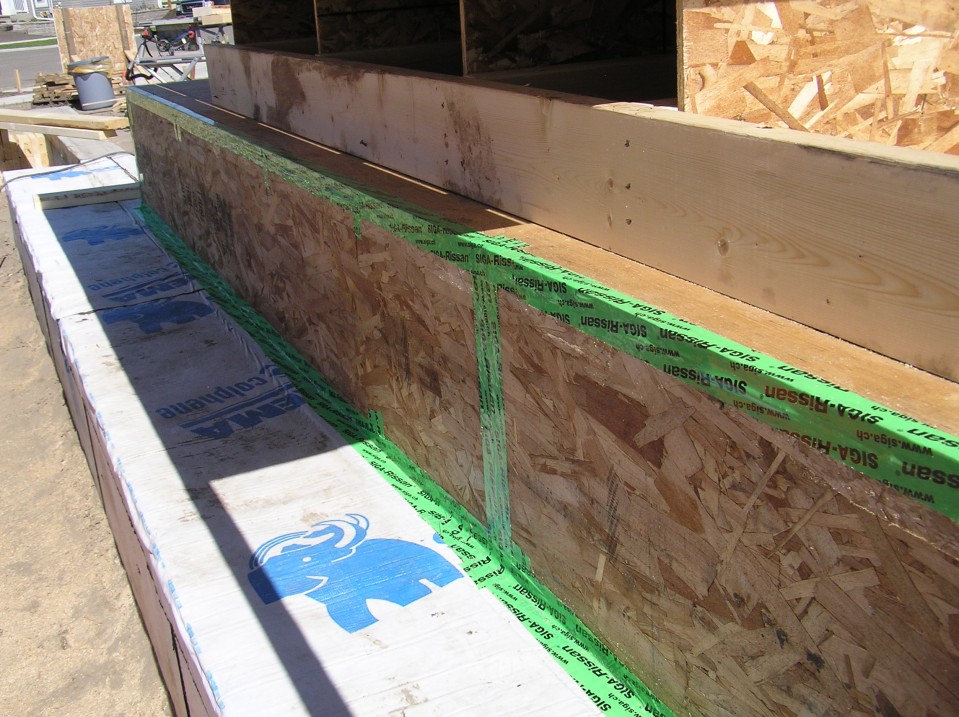
An example view of the rimboard with airsealing completed. Looking good!
Previous: Foundation Drainage and Plumbing Next: Main Floor Framing
Hello, I’m planning to build my own passive house, but am having difficulty finding resources regarding specific construction steps (e.g. seems to apply the tape to/what/where). Your documenting of the project provide very good visual information.
Could you recommend some literature, courses to take, other resources where I could learn more details about passive house build? Thanks a bunch
Hi Sergey. I’m sorry, this website isn’t monitored much anymore. Your best option for training in Canada is either Passive House Canada (https://www.passivehousecanada.com/course-faqs/) or Peel Passive House (https://www.peelpassivehouse.ca/learn).