
Airtightness
Passive Houses must achieve very high airtightness compared to regular houses, primarily to minimize heat loss due to infiltration and exfiltration (i.e. cold air getting in and warm air getting out). It has also been shown that vapour movement through building assemblies is much greater due to vapour-laden air movement than by vapour diffusion directly through building materials, which could cause moisture damage over time. To meet the Passive House standard, the house must achieve less than 0.6 ACH (air changes per hour) at a pressure difference of 50 Pascals. This means that if we were to apply a pressure differential to the house (by blowing air in or sucking it out), only 60% of the house’s total air volume would change in one hour. The better the airtightness, the lower the heat loss and thus the lower the heating demand. Passive and low-energy or net-zero houses in North America are routinely hitting 0.3-0.4 ACH, so we felt 0.3 was a reasonable target.
We touched on airtightness before when installing the main floor rimboard, sealing the basement floor slab, and installing the doors and windows, so now we’ll look at the main wall assemblies and the roof. We’re using taped 5/8″ OSB on the inside face of the double-stud wall for the primary air/vapour barrier, and taped 6mil polyethylene sheeting for the roof. (The original plan was to use OSB on the roof also, be we opted for poly instead for ease of construction.)
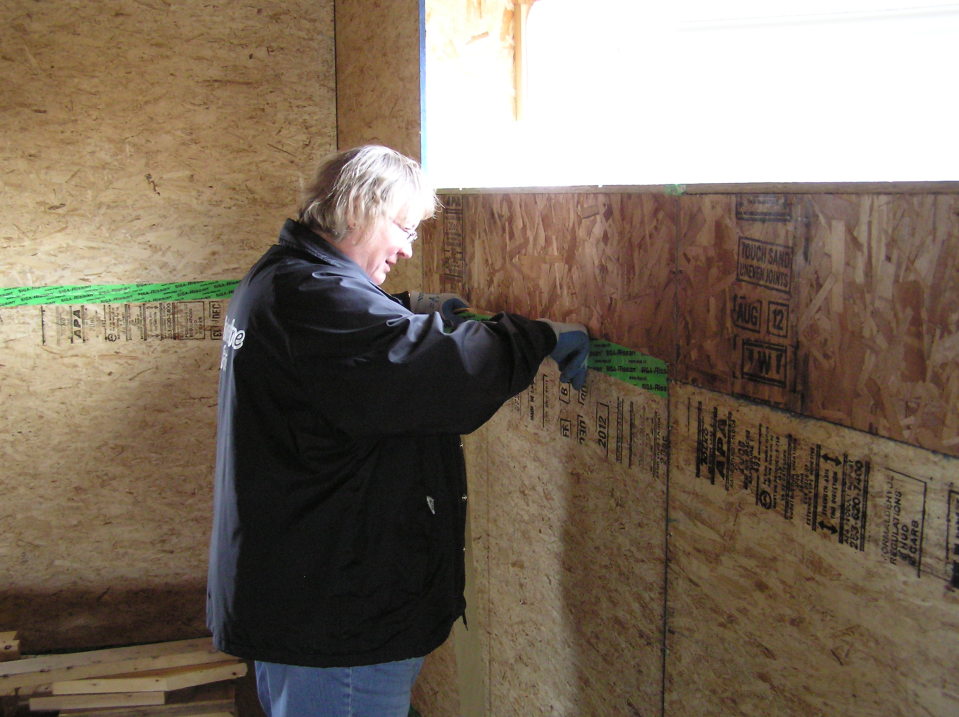
The concept is pretty simple: just tape up all the joints and holes! And we do mean all. Stray nail holes, corner joints, service penetrations (electric, gas, water, plumbingvents), etc all require great attention to detail.
Here, Emilie applies sealing tape to the OSB joints.
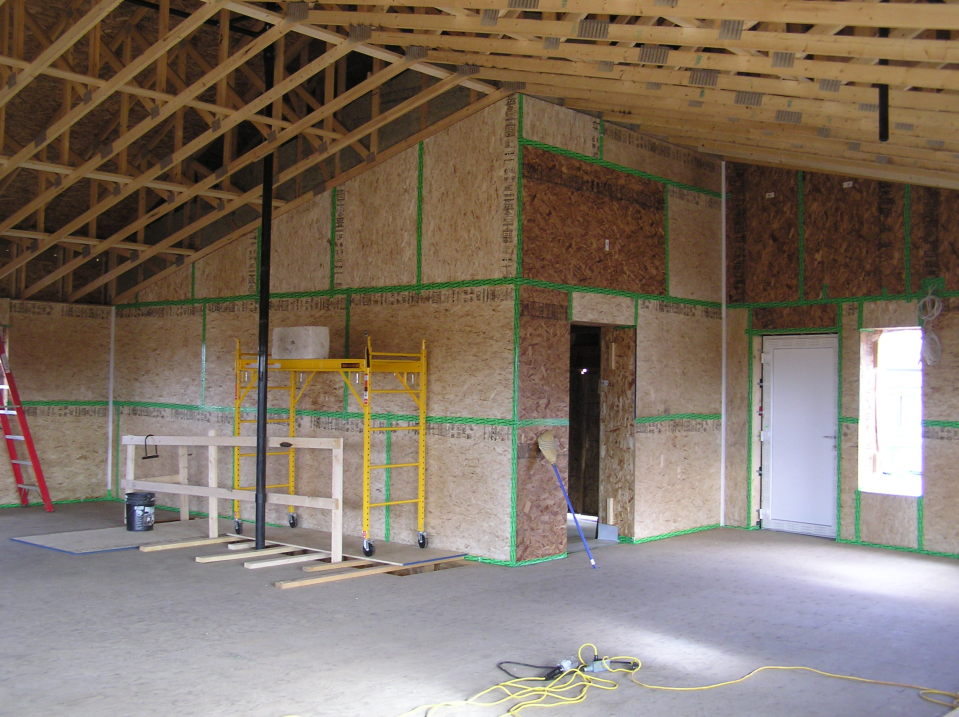
The completed northwest walls at the attached garage… Notice how the corners and floor-wall transition are all sealed carefully.
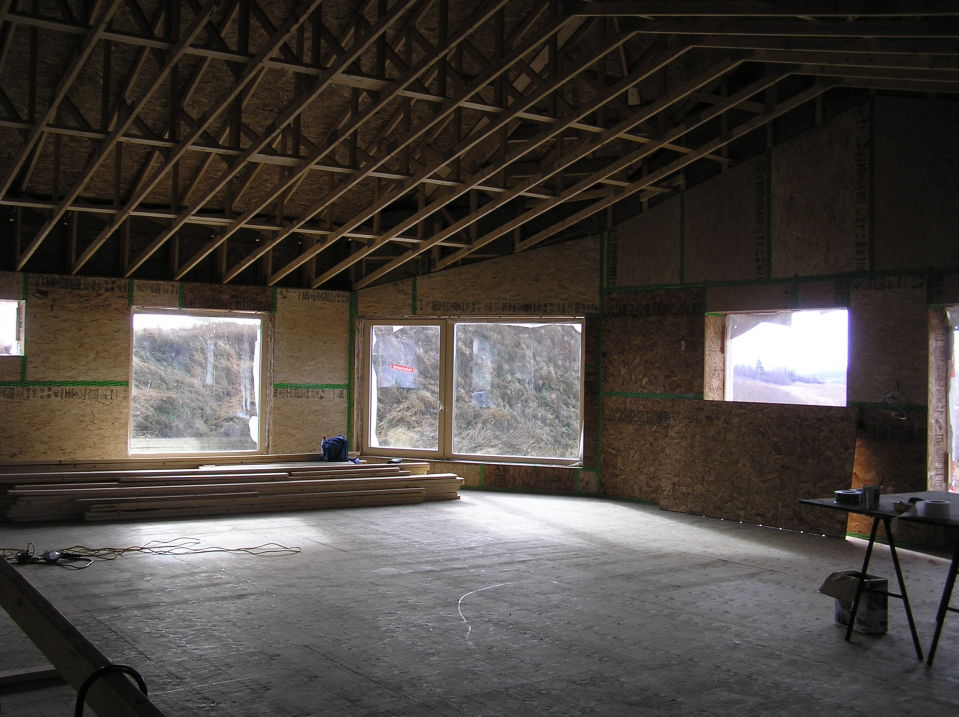
The south/southeast walls. This was taken before the windows were fully installed and sealed.
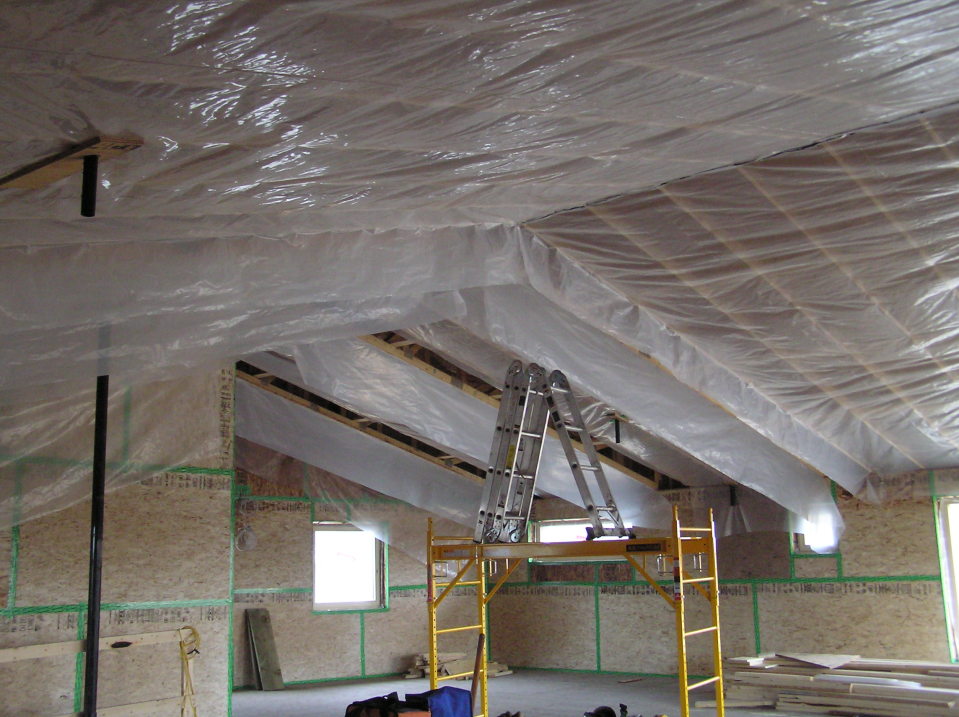
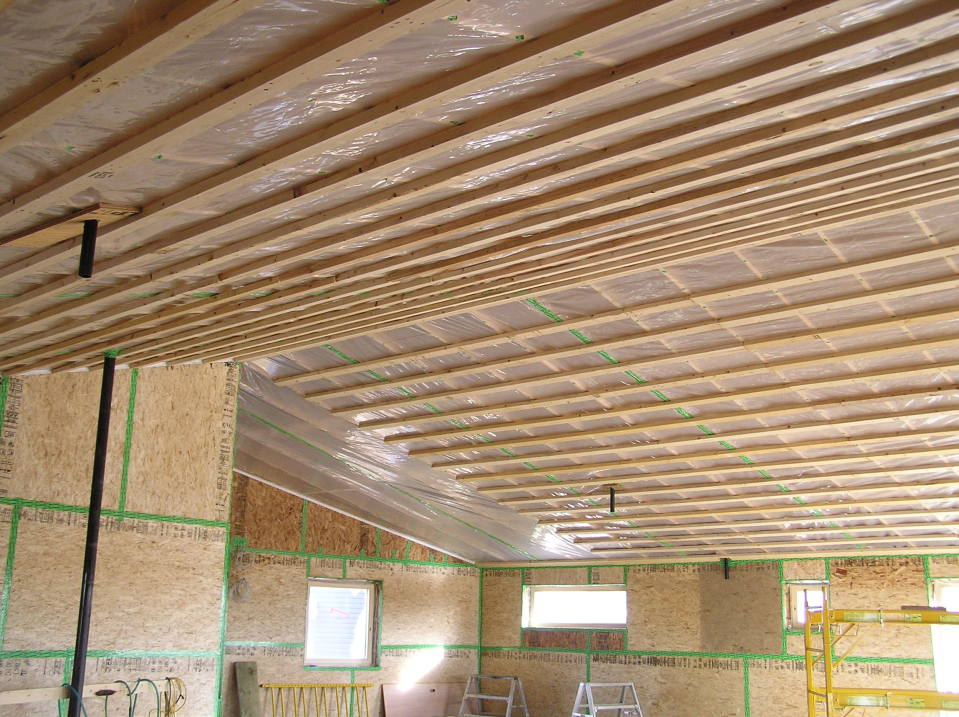
Airsealing the ceiling was done in a fairly conventional manner, with large sheets of polyethylene. Having no interior structural walls to worry about made the layout straightforward. (Conceptually, the easiest envelope to detail and construct is a simple box with air/vapour barrier on the inside of all the structure to avoid any thermal bridging.)

Plumbing vents and other service entries were fully taped where they penetrated the air/vapour barrier.

If you look closely, you’ll see that we also sealed the nail holes in the poly sheeting. After that, 2×4 strapping was overlaid to create a service cavity to run electrical for lighting and provide mounting for the drywall ceiling.
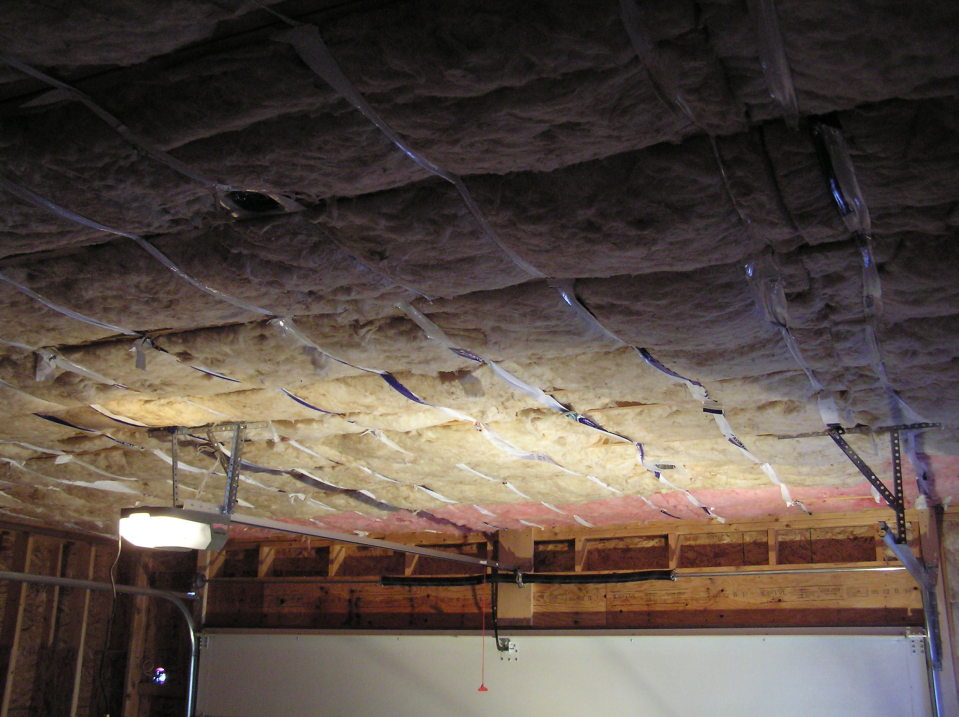
As an aside, below are a couple images of the garage insulation and poly vapour barrier. The garage is not part of the Passive House thermal envelope, so we just provided a basic amount of insulation to keep the garage from getting too cold in the winter.

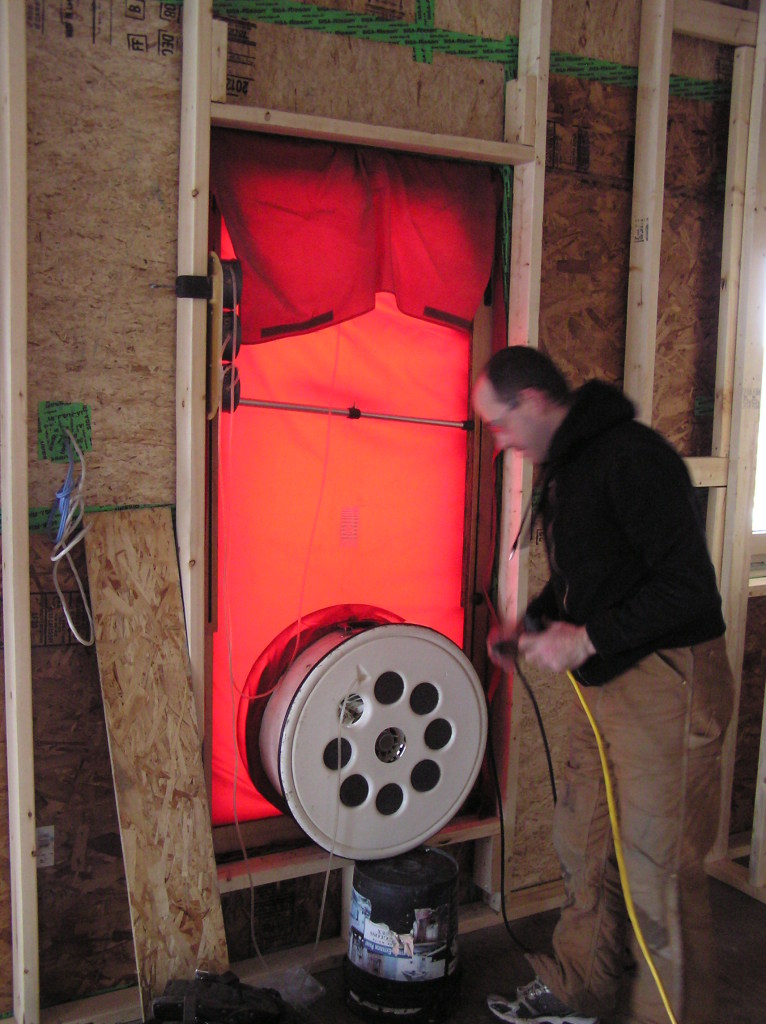
Once all the airsealing was complete and all the doors and windows were installed and sealed, we performed a preliminary airtightness test to ensure there were no major issues. The pictures below shows the technician setting up the blower door unit in a window opening at the back of the house and a detail of the pressure gauges.
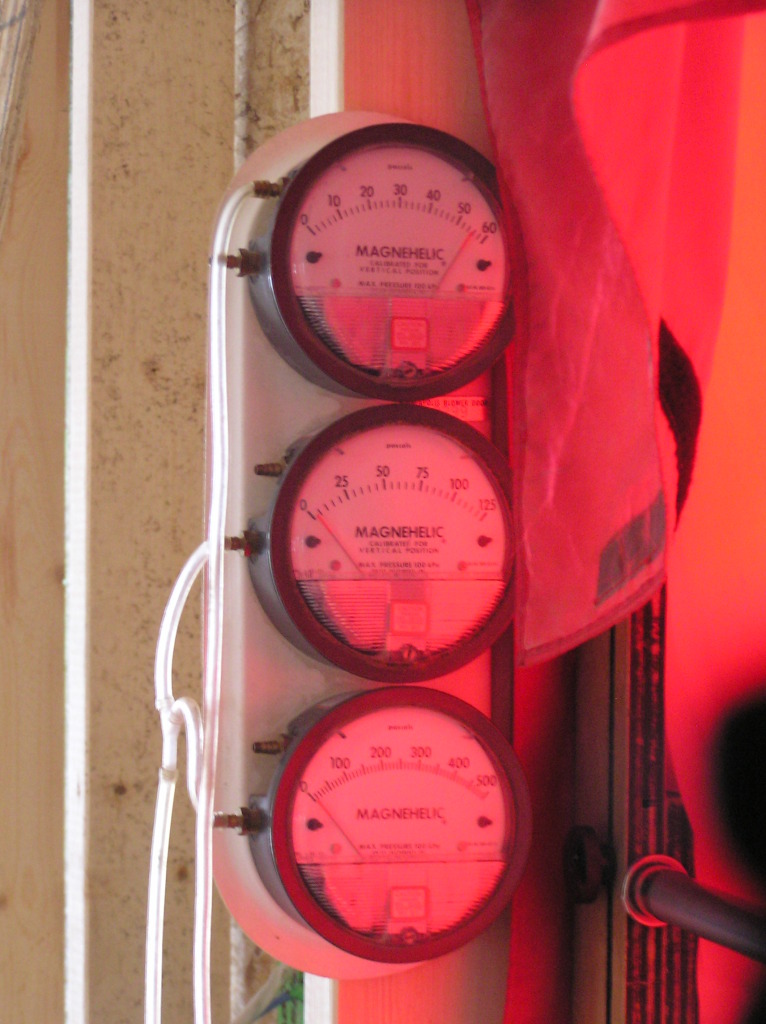
The initial airtightness test was a little bit confusing, but in a good way! The reported values seemed to be at the lower limits of the testing unit: 0.22 ACH for the pressurization test and 0.08 for the depressurization test. At this point, not all penetrations were done (e.g. HRV outdoor air intake and exhaust), but this at least confirmed that things were on the right track.
Update: I should have mentioned that we are very behind in posting photos, and in fact this airtightness test was done on November 8, 2013, just before International Passive House Days 2013. We recently performed another airtightness test (pressurization only) with an adjusted infiltration reference volume and scored 0.3 ACH. However, there were some other issues with the test so I can’t call this number “final” either. Nevertheless, we seem to be well under the 0.6 value needed for certification. [DZ]
Previous: Windows and Doors Next: Project Update
Questions for you. I really enjoyed your blog. A nice comprehensive account of the process. Is there a reason you chose to use conventional forms/ foundation covered with 12″ eps instead of icf with additional eps on the exterior?
I was also wondering about sheathing the interior with 5/8 osb when poly was adequate for ceilings. Is that to prevent wall attachments from penetrating the vapour barrier?
Thanks
Jeremy
What you suggest may have been an option, but we decided to do it this way in order to have more control over airtightness at the foundation. Thermally, the exterior insulation is doing most of the work, and integrating with ICFs may have allowed for gaps in the insulation that could be prone to convective air leakage. That said, in Europe you can buy off-the-shelf ICFs that already have 8-12″ of exterior insulation built in.
The OSB on the walls is also structural. The exterior walls “hang” off the interior 2×6 stud layer, so exterior sheathing — with poly inside — would have been trickier to connect to the main floor (the structural diaphragm). The original plan also had OSB on the ceiling as well, but it was going to be too difficult to install. It is possible to get a fairly high degree of airtightness with poly, but you need to be extremely careful making sure all cuts and holes are sealed. (It is, of course, less durable than OSB.)