
Foundation Drainage and Plumbing
With the foundation more or less waterproofed, the next step is installing foundation drainage (i.e. weeping tile/drainage tile), backfilling, and getting plumbing installed up to the level of the basement floor. These are not exactly the most glamorous parts of the construction, but they are important nevertheless.
This is the weeping tile being installed along the northwest side of the garage and house. We added the additional insulation along the garage to buffer some of the thermal bridging where the garage foundation connects to the house, and also to achieve a consistent exterior face for when the siding goes on eventually.

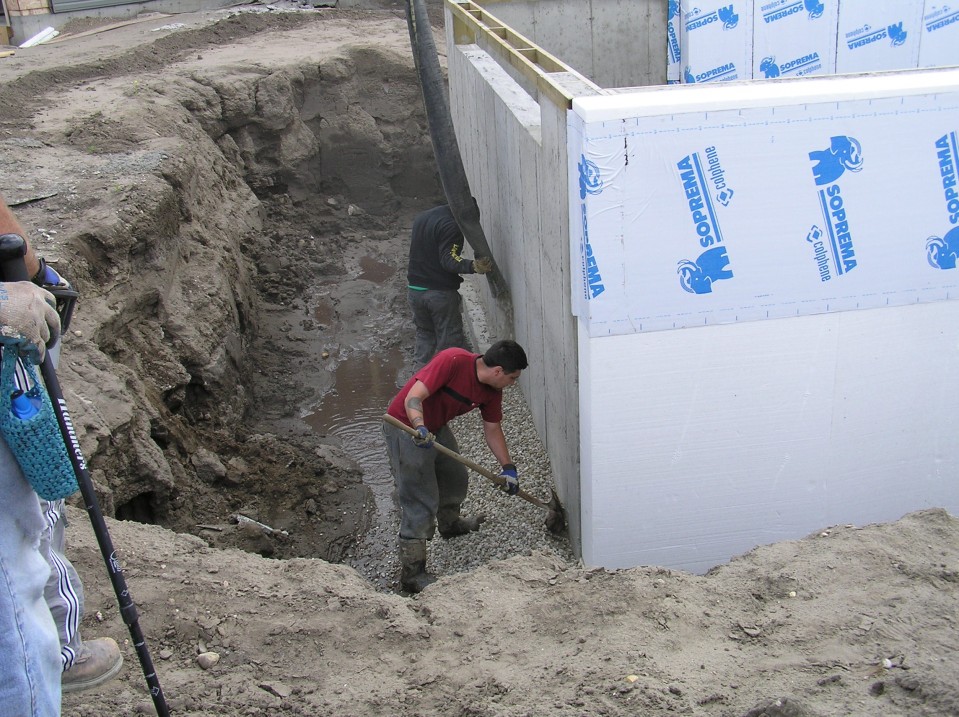
This impressive machine is dropping the gravel over the weeping tile…
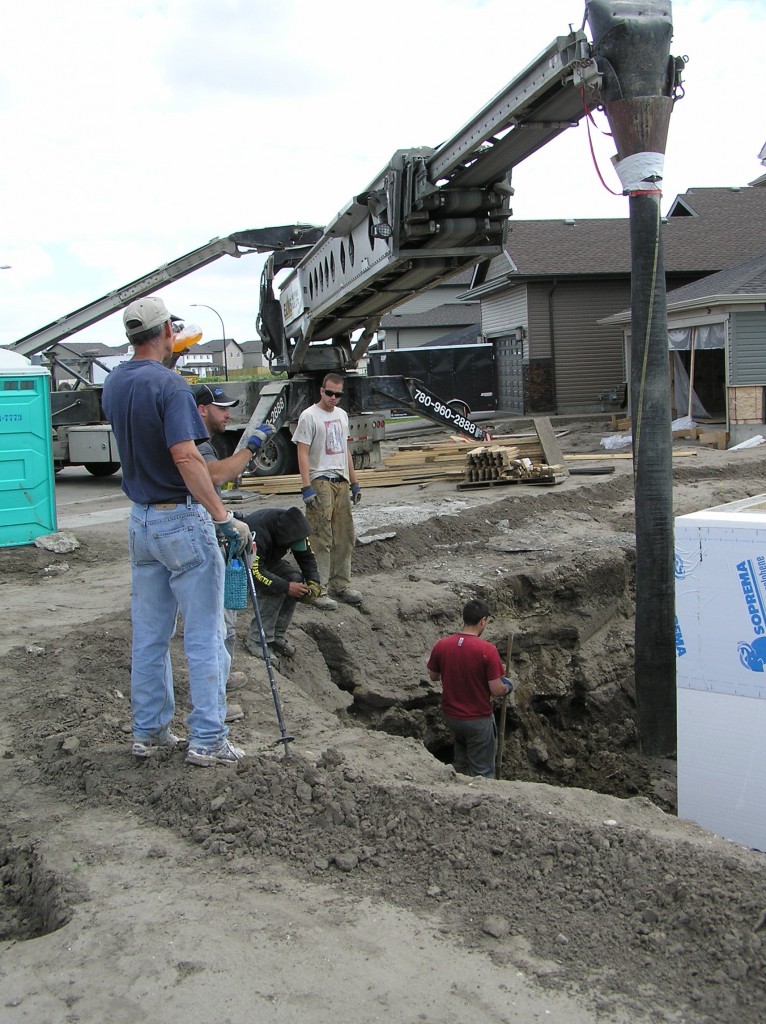
As seen here…
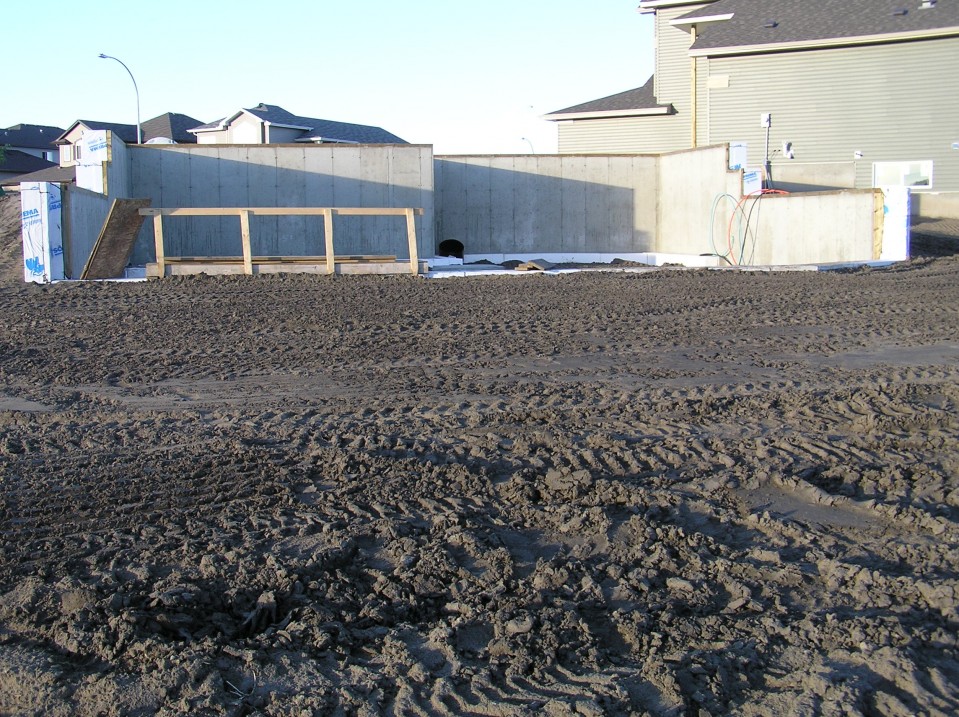
A view of the southeast wall, where the weeping tile and gravel installation is complete.

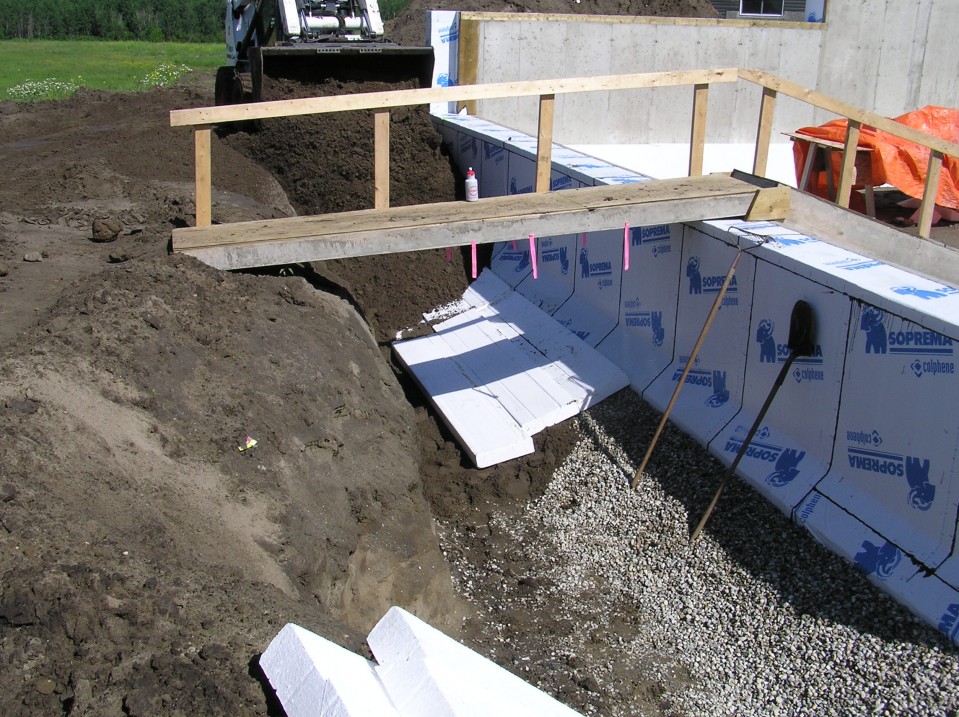
As mentioned in an earlier post, the shallow foundations around the back of the house require adding an insulation “skirt” in locations where the backfill will be less than about 6-7 feet.
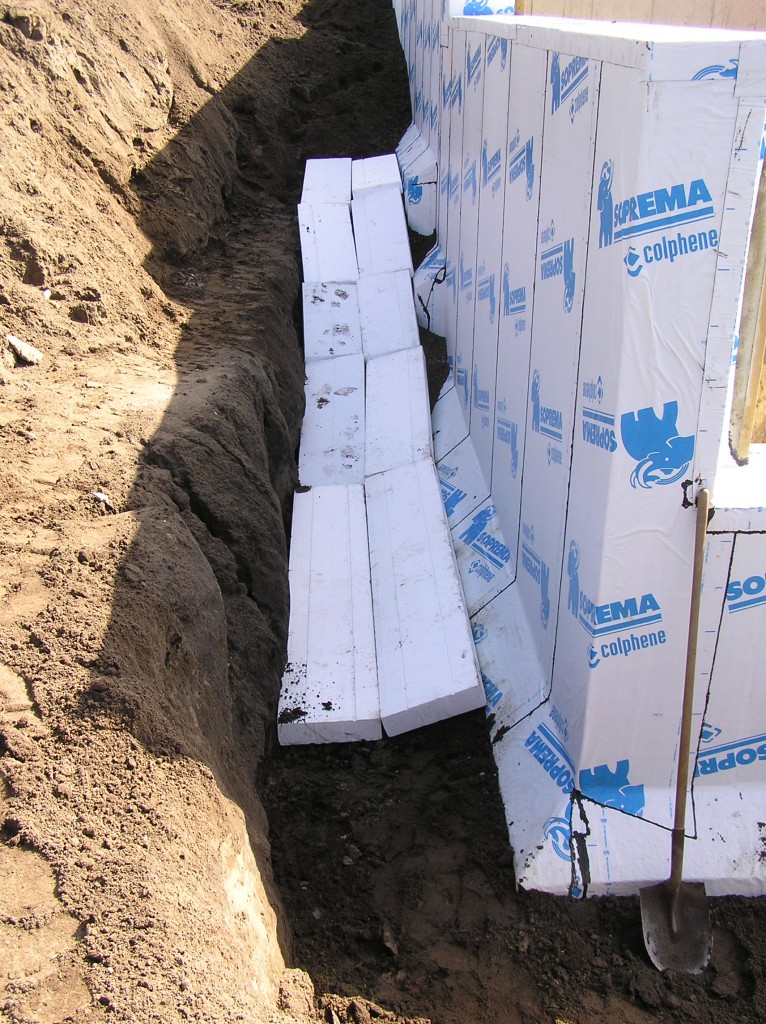
This is a good photo showing the sequence of events: weeping tile and gravel, insulation skirt, then backfill.
One somewhat unexpected challenge was the need for a sump pump to discharge any accumulated water from the perimeter drainage tile. Since there isn’t a municipal storm water connection in the area, all of the houses have sump pumps. We’ve had varying opinions whether this will be problematic with respect to meeting the Passive House standard, but it generally isn’t expected to be too much of an issue. I suppose we’ll find out! (The sump with be air-sealed and insulated to minimize any thermal bridging.)

Photo showing completed backfill from the front of the house, with the attached garage on the right.
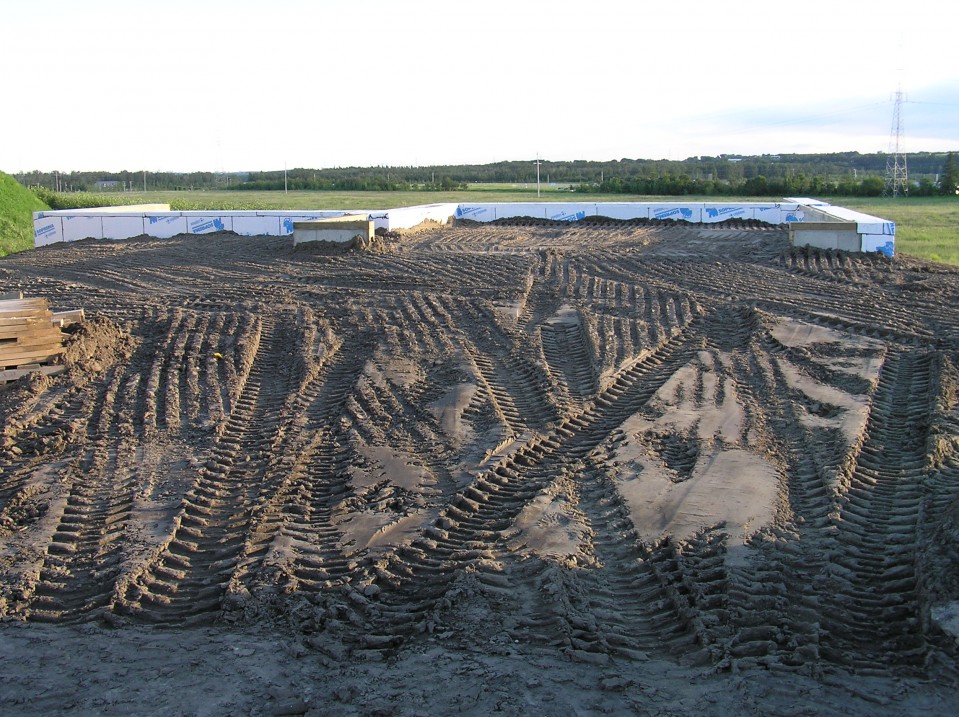
Backfill and rough grading complete on the walk-out side at the back.
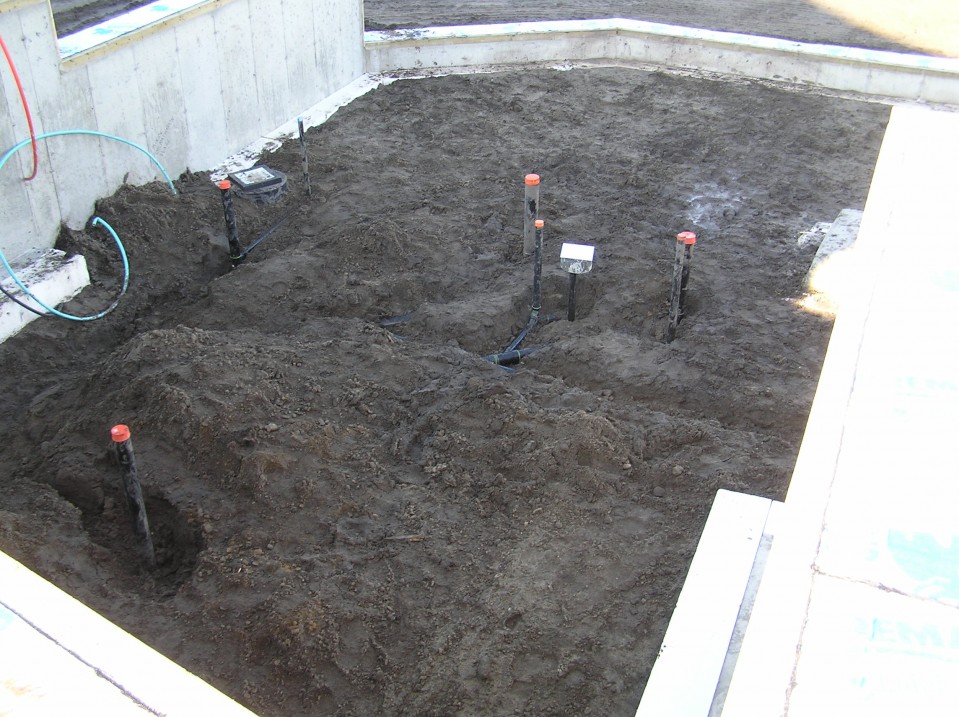
And a few images showing where the basement plumbing has been installed. It’s always a little tricky to get these things in the right place without the rest of the house there, so hopefully it works out!
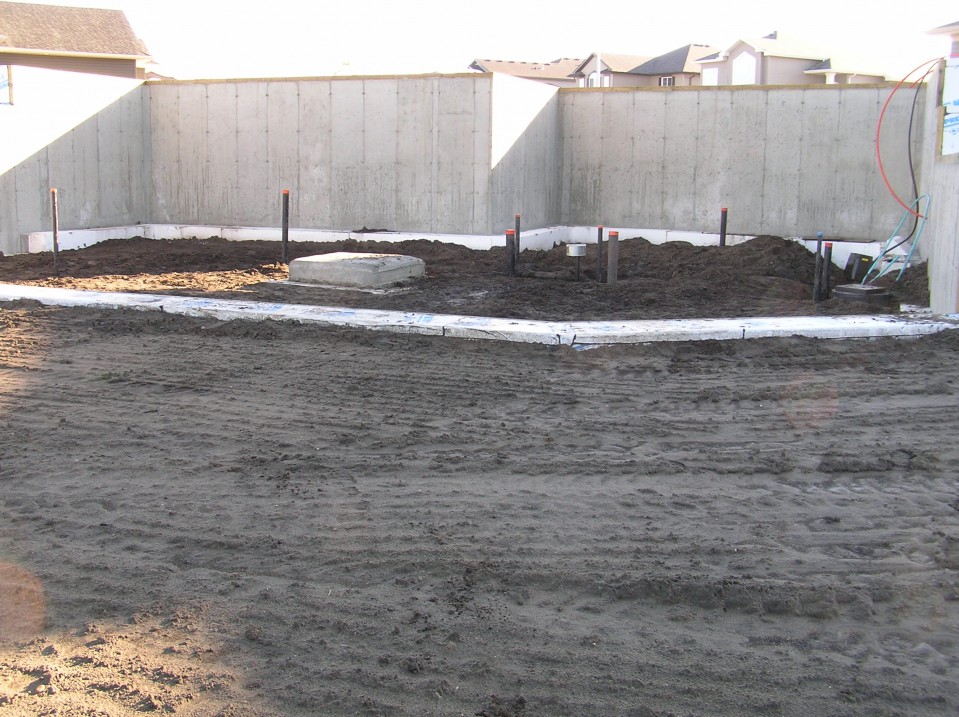
More plumbing from the basement walk-out side.
Previous: Foundation Waterproofing Next: Basement Framing and Main Floor
Beautiful Blog. Love the attention to detail.
I’m a little confused by the lack of insulation on the front of the garage foundation but still having insulation on the sides. Won’t the concrete wall itself provide a thermal bypass rendering the side insulation somewhat less useful?
Hi Bob. The garage is technically outside the Passive House thermal envelope, but we insulated it anyway just to buffer the winter temperatures when it gets really cold (and to futureproof in case a future owner wants to heat the garage). Structurally, the engineer wanted to connect the garage foundation to the house foundation to avoid differential settlement, but as you point out, this creates a thermal bridge through the thermal envelope. We looked into proprietary products (e.g. Isokorb), but they were cost-prohibitive. You can buy a lot of cheap EPS for the same cost as one 8′ high Isokorb. So, instead we insulated the garage foundation full height for the first 4-5′ to reduce the exposed area. (This thermal bridge is calculated and factored into the PHPP energy model.) On the northwest garage foundation wall, it’s insulated full length for aesthetic reasons — to allow the exterior walls to continue with avoid an unsightly jog above grade. [DZ]