
Windows and Doors
It’s been a while since we had time to post photos… Windows and doors were actually installed many months ago in October, to get the house buttoned up before winter came.
Windows (and doors) are probably the #1 most important and technologically complex part of Passive House design and construction. Passive House-quality windows used in cold climates need to be super-insulated to keep heat in, but also have high solar heat gain to capitalize on that precious winter sunshine. Usually these goals are at odds with each other. For example, you’ll find many companies advertising glazing products with low solar heat gains, which makes a lot of sense if you’re designing an office building with high internal heat gains. However, windows are usually the greatest source of heat loss in a building, so the passive house strives to make the windows net-positive: generating more energy than the lose over the year (in terms of heat).
While North American window manufacturers are starting to introduce PH-quality products, the market is still far behind Europe – both in terms of technology and product choice. For the Edmonton-area climate, the best windows available to us were from an Austrian company called Internorm, and imported for us by Vancouver-based Northwin. PH-certified doors are impressively expensive (~$5000 each), so for our two insulated entry doors, we instead opted for a product from Delta, BC-based EuroLine. For their windows, EuroLine uses a European frame profile from Rehau, with North American insulated glass units. The EuroLine doors are basically a modified window frame with an insulated solid slab instead of a window.
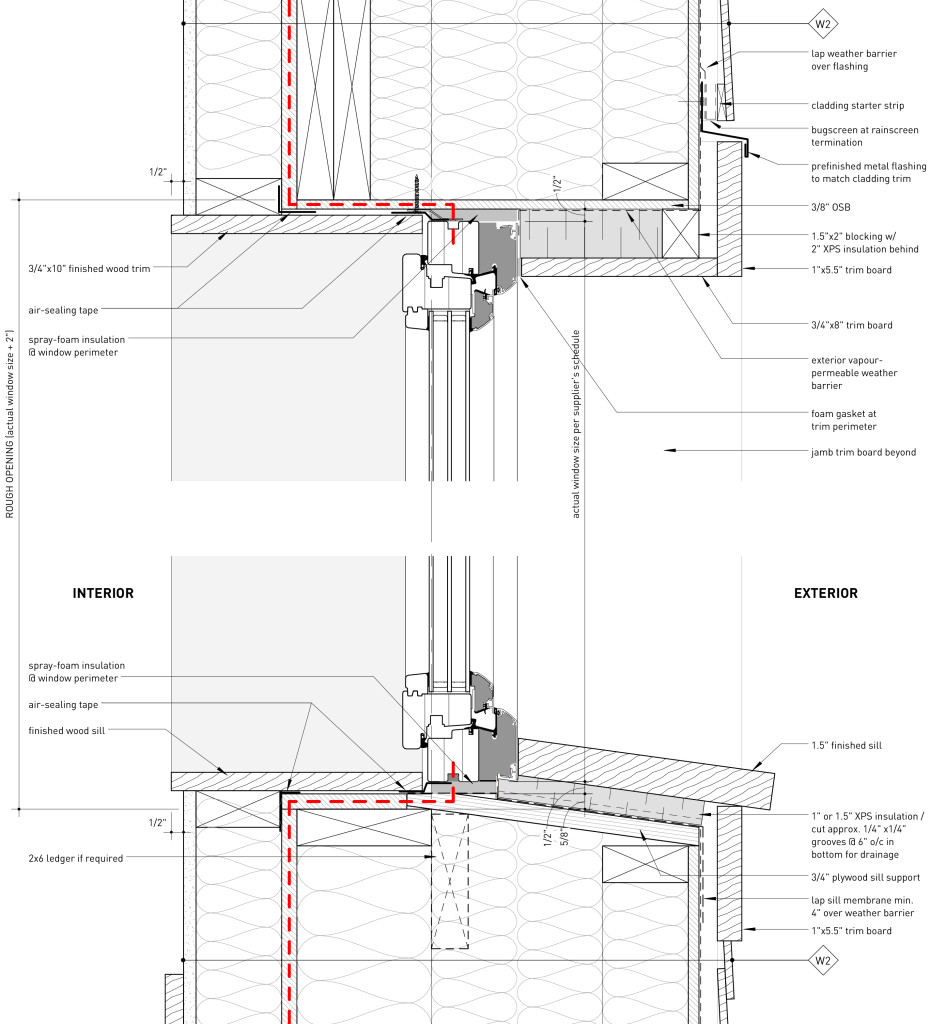
Besides picking the most appropriate products for your project, you also need to be concerned about the quality of the installation, including the continuity of the air/vapour barrier and treatment of how insulation meets the window/door opening. These details inevitably create what’s called a “linear thermal bridge” (expressed in units per lineal length, which is multiplied by the window perimeters), so they require careful consideration. In fact, these details are probably a good place to start!
Here’s where we ended up, more or less. The windows are installed roughly in the center of wall depth, which is best for insulation continuity. The red dashed line indicates the line of the air/vapour barrier, running through the taped OSB layer to the window frame. As best we could, insulation is added on the outside face of the window frame to decrease the linear thermal bridging at the window perimeter. The “tilt’n’turn” windows open inwards to accommodate this style of insulation, either “tilting” down from the top ~4″, or swinging (“turning”) left/right like a casement window up to 100% open. The jamb detail (not shown here) is very similar to the head detail, except with a different cladding detail.
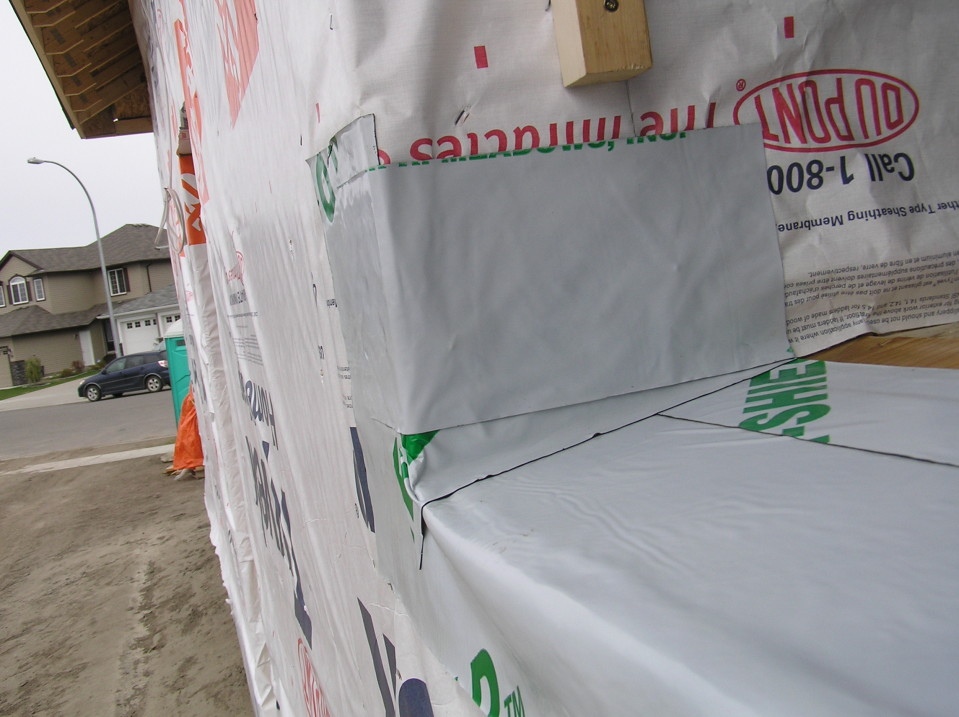
So, with that out of the way, it’s a “simple” matter of execution. The openings are prepped as boxed openings, with OSB or plywood on all four sides. The Tyvek is carried inside the opening back to approximately where the window is installed. (Remember that we’re just using the Tyvek as an exterior weather barrier. The interior taped OSB is doing the proper air/vapour barrier work.) We prepped the sills with self-adhered membrane (“peel’n’stick”) with a proper 3-piece corner detail:
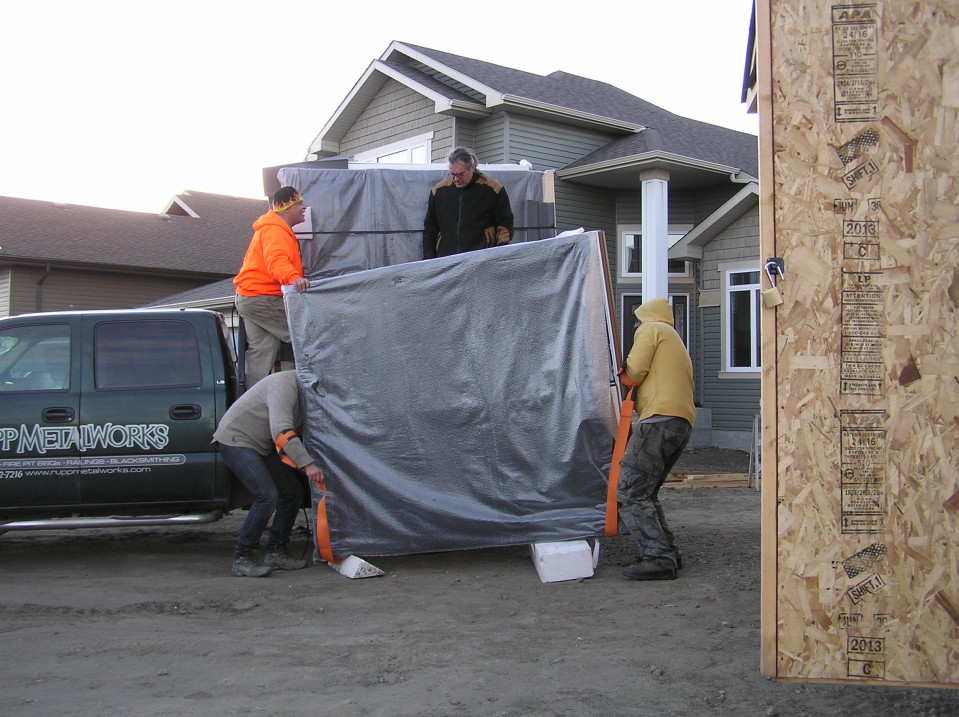
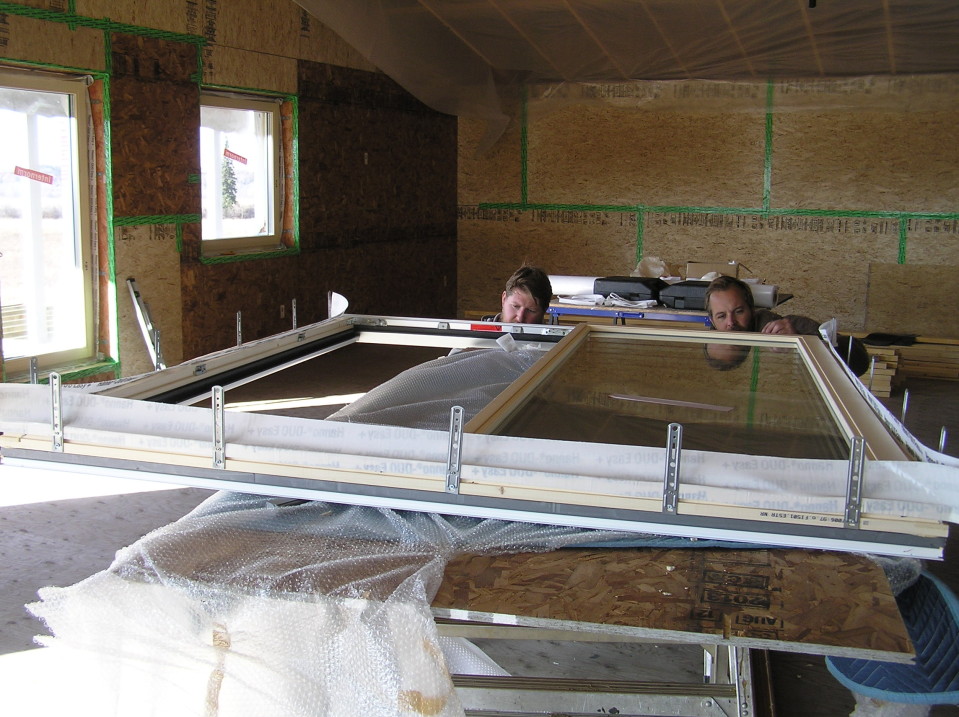
Three panes of glass with solid wood frames means these 6’x6′ units needed to be manhandled by two people!
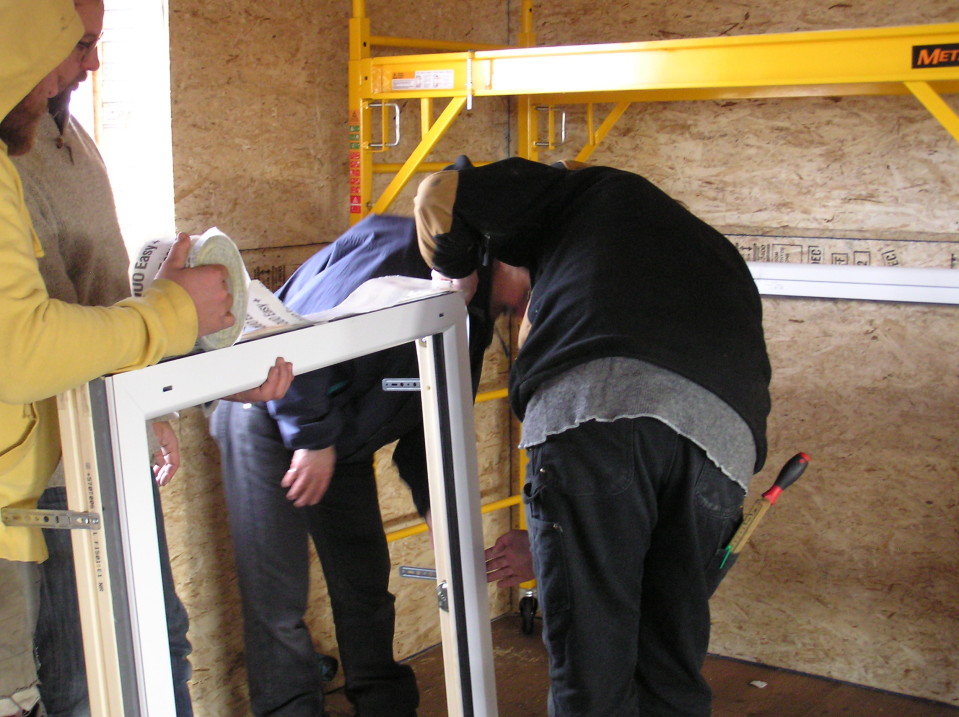
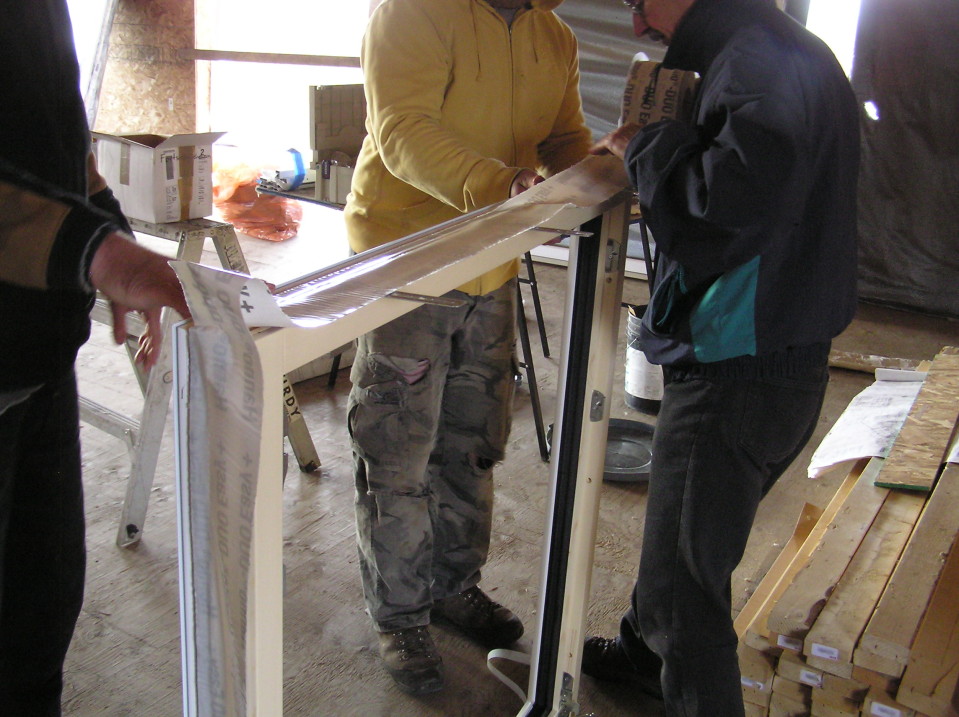
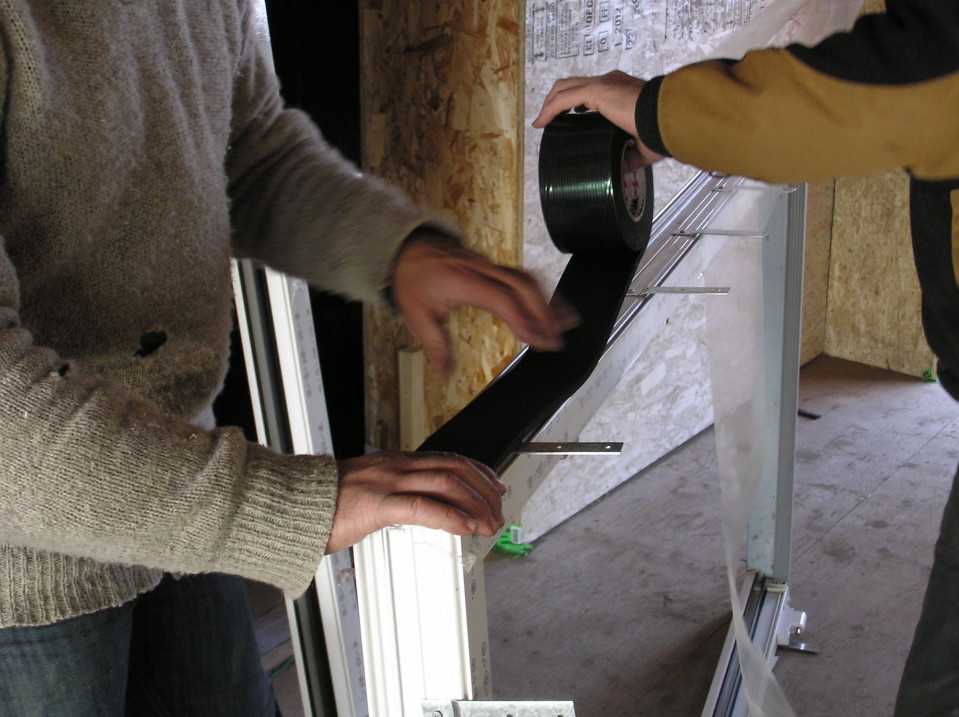
Passive House tilt’n’turn windows are usually installed from the interior. Once the units were brought inside, they were prepped for installation. Anchor straps and double-sided sealing tape is fixed to the frame perimeter. There are a few ways to install the operable windows, but due to our inexperience with this type of window and the size of the as-built rough openings, we ended up having to use anchor straps on all the windows. Normally, you’d only need these on non-operable windows.
The fold detail lets the tape get in the extra distance at the corners.
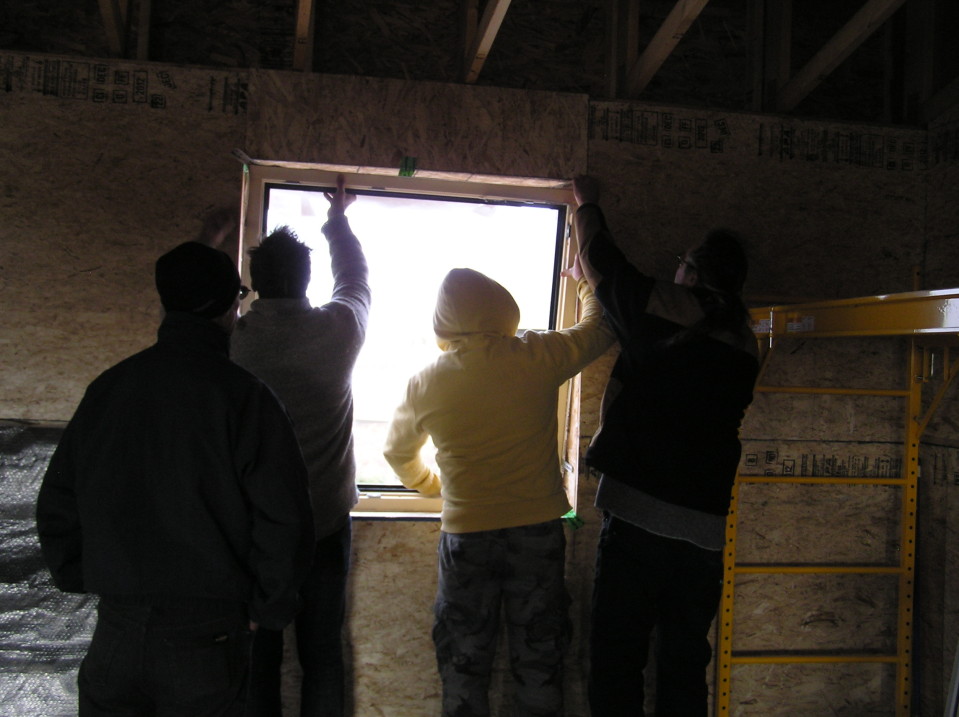
The frame is positioned in the opening and shimmed as required to get the window plumb and level.
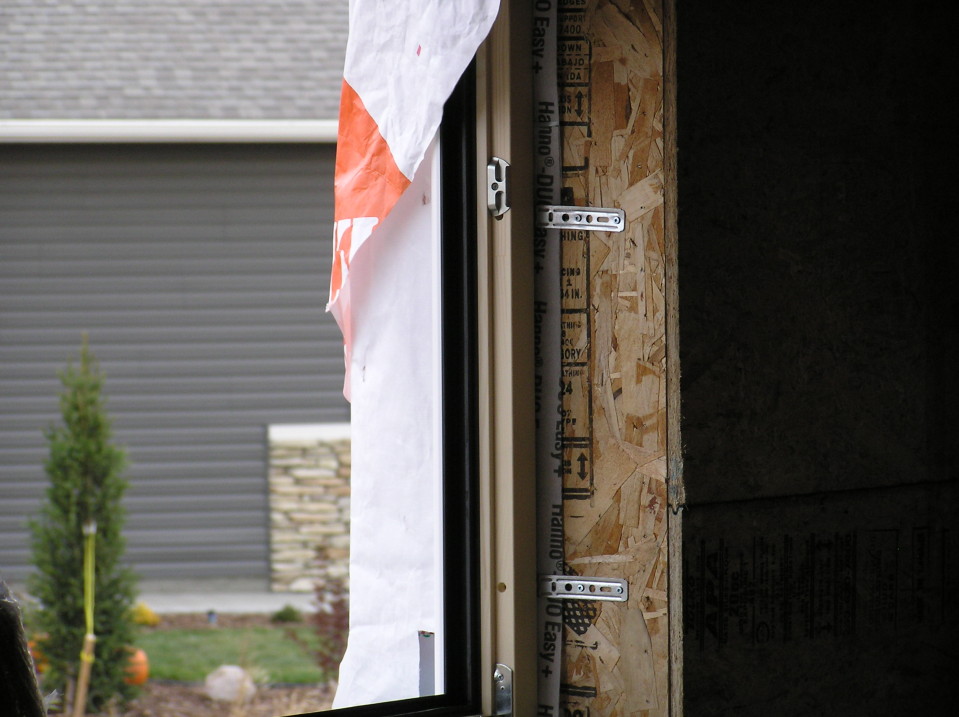
A close-up of the anchor straps with sealing tape behind.
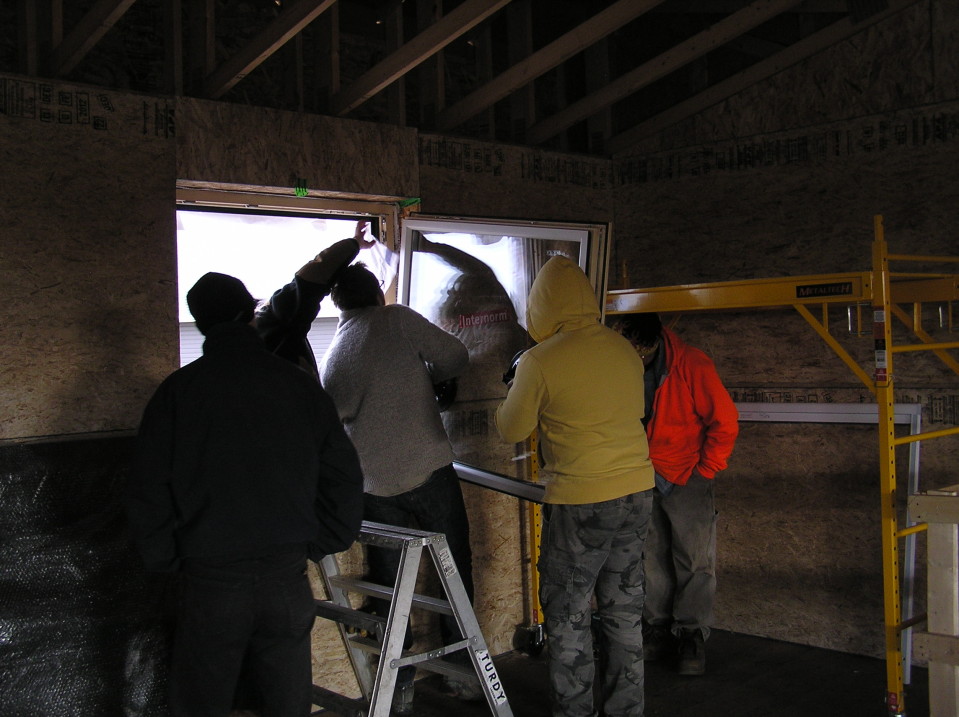
Once the frame is screwed in, the sash gets reinstalled:
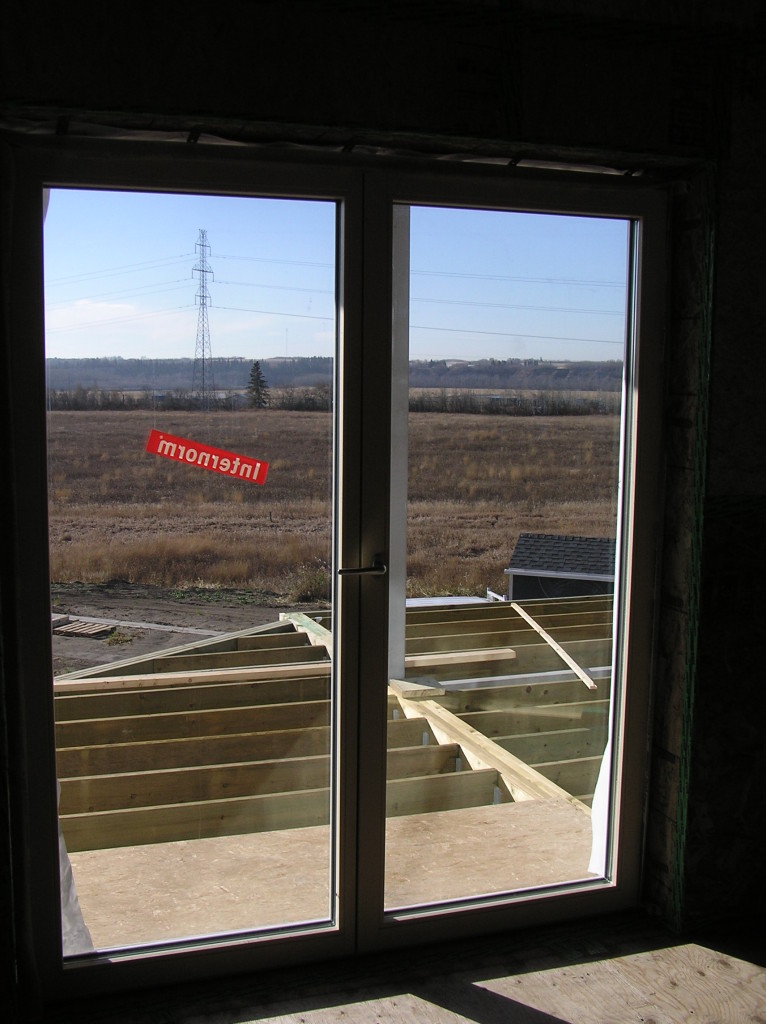
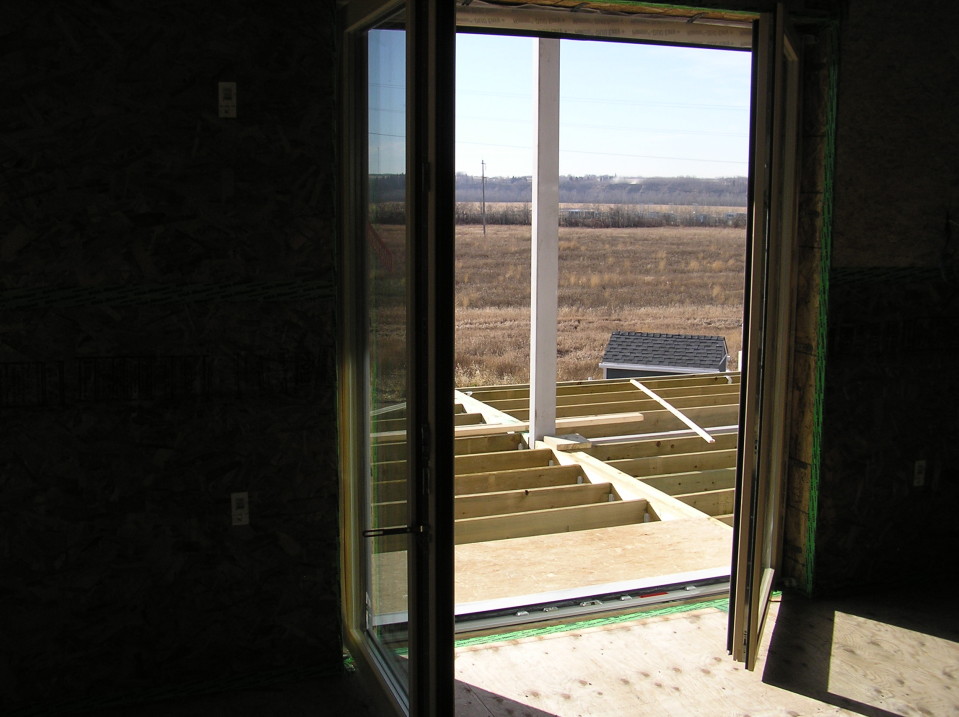
That’s basically it! Now repeat 20-some times. Here’s a few images of the south-facing french doors off the covered deck being installed:
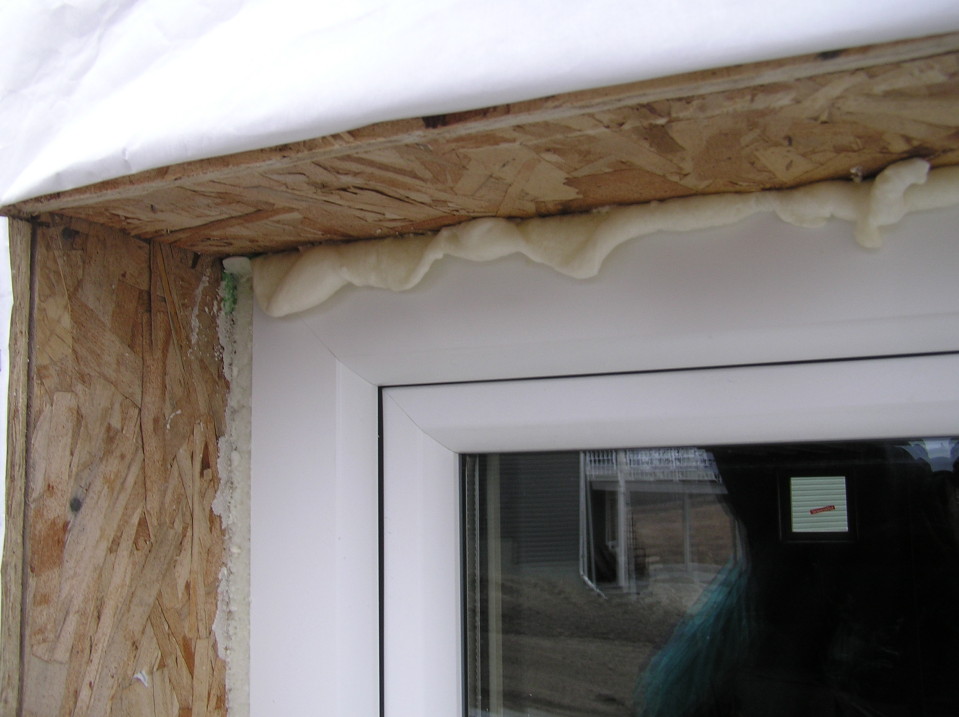
On the outside, the 1/2″ gap around the window is filled with spray-foam insulation.
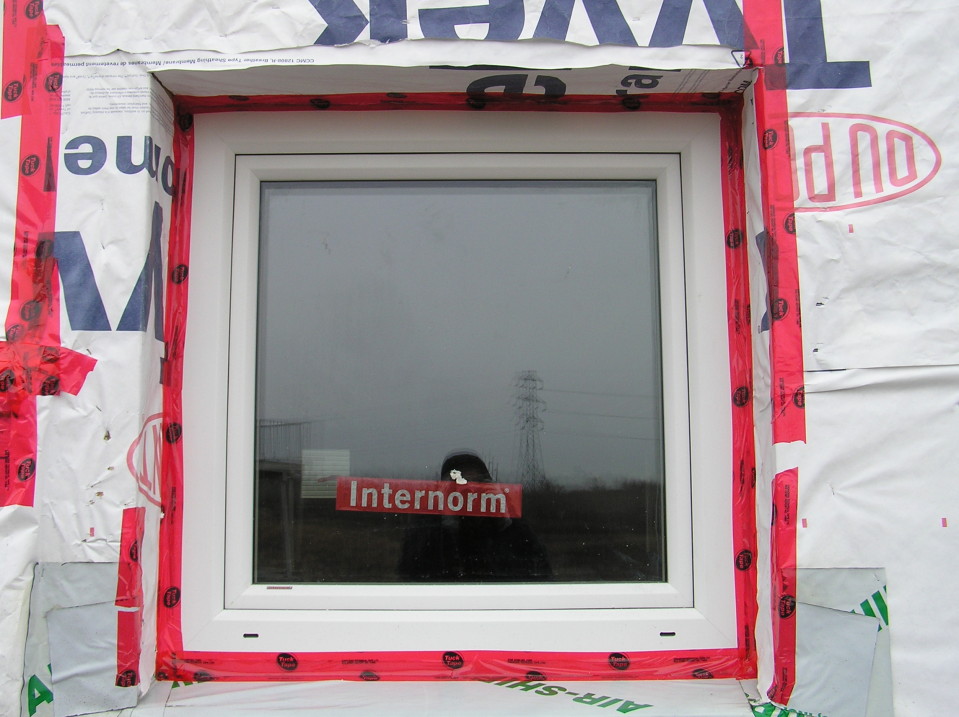
Then the Tyvek is carried in and taped to the frame to complete the weather barrier and protect the spray-foam.
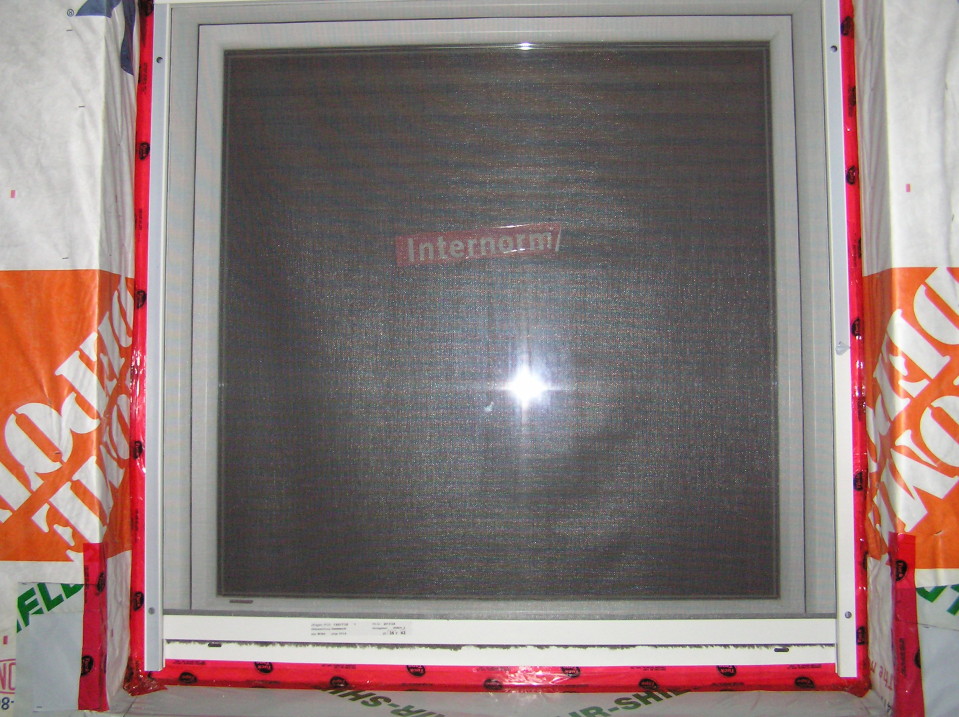
One unexpected detail we ran into was the exterior bugscreen on the operable windows. Since these windows might be closed for 6-8 months of the year, we opted for retractable buscreens, so the view throughout the winter is just glass. However, we were required to modify the over-insulation detail on the window head and jambs.
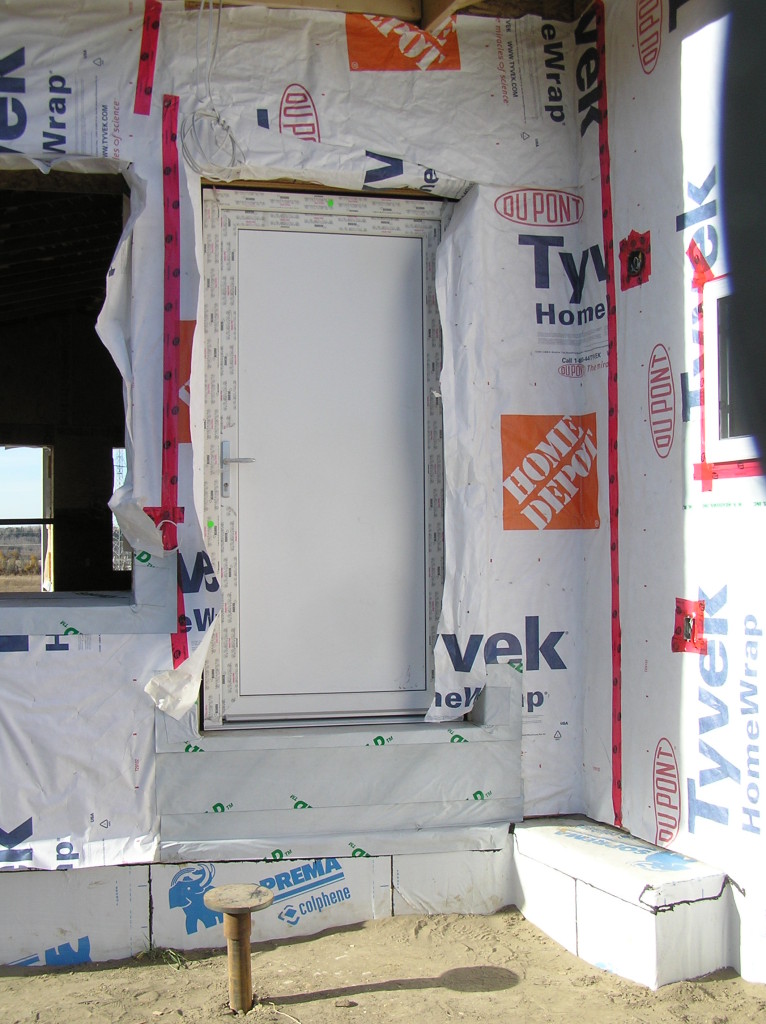
The two doors were installed in a very similar manner, except we used a foam tape around the frame that expands to create the perimeter insulation. It’s more expensive than spray-foam, but more durable and saves some of the labour associated with spraying and cutting the spray-foam.
And a view of that door from the exterior. The door was supposed to be red to contrast nicely with the “Evening Blue” siding, but we learned later that the colour was a $5000 premium – more expensive than the door itself! So, white, for now…
Previous: Passive House Days 2013 Photo Roundup Next: Airtightness
Leave a Reply