
Roof Installation
It finally starts to look like a house!
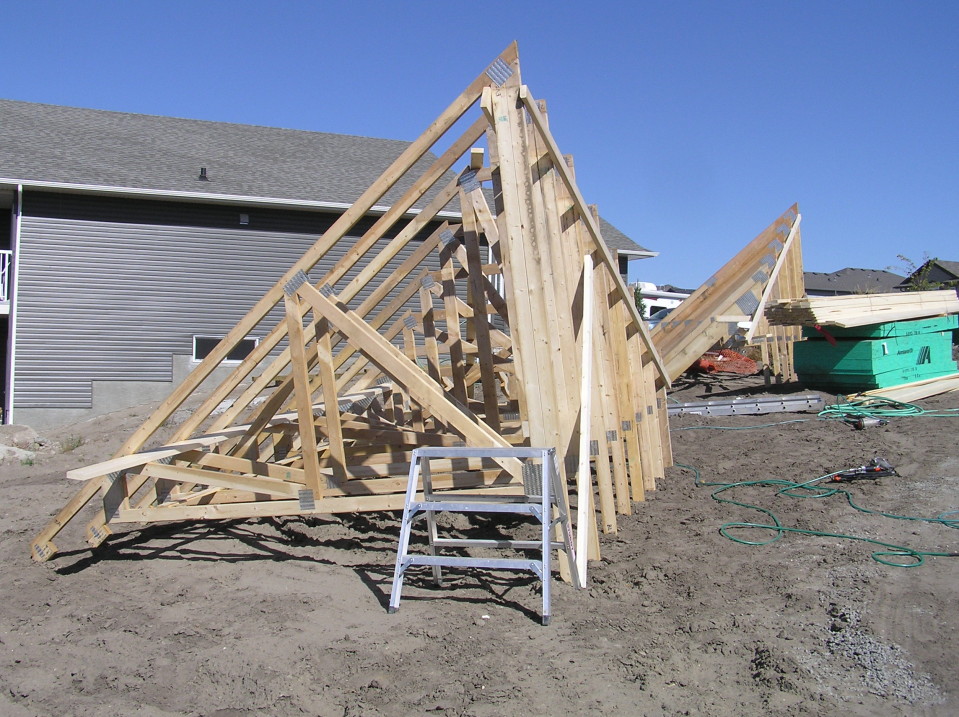
The roof trusses for the house are based on a 44′ clear span, plus an additional 3′ on either end for overhangs, making the overall truss length about 50′. (Not small!) The bottom chord of the trusses has a 3:12 slope, which will give the main living space a 12′ peak, roughly.
Before bringing the crane in, the rear roof trusses were assembled into units on the ground:
Adam and Wes installing LVL beams to support the rear roof:
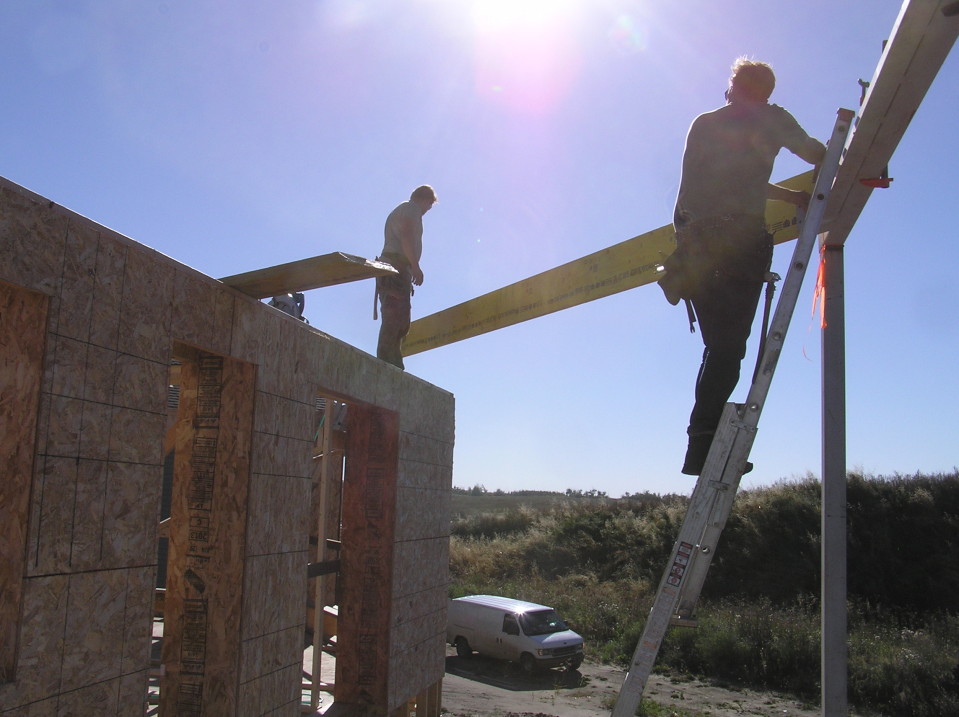
And the catwalk setup on the interior to help with the truss installation.

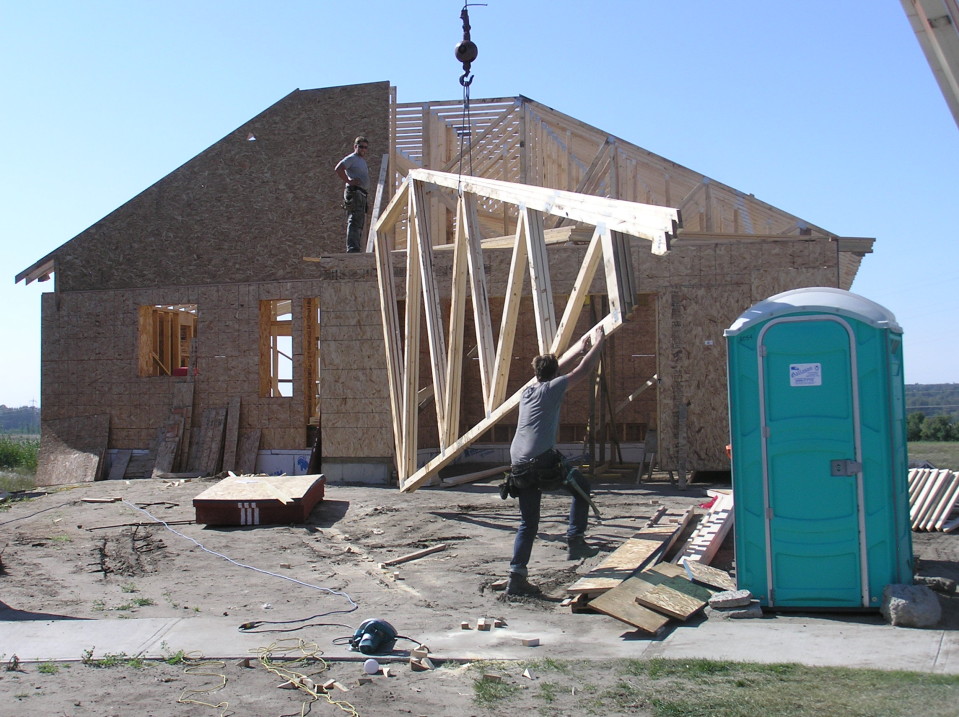
The first piece of roof lifted into place.
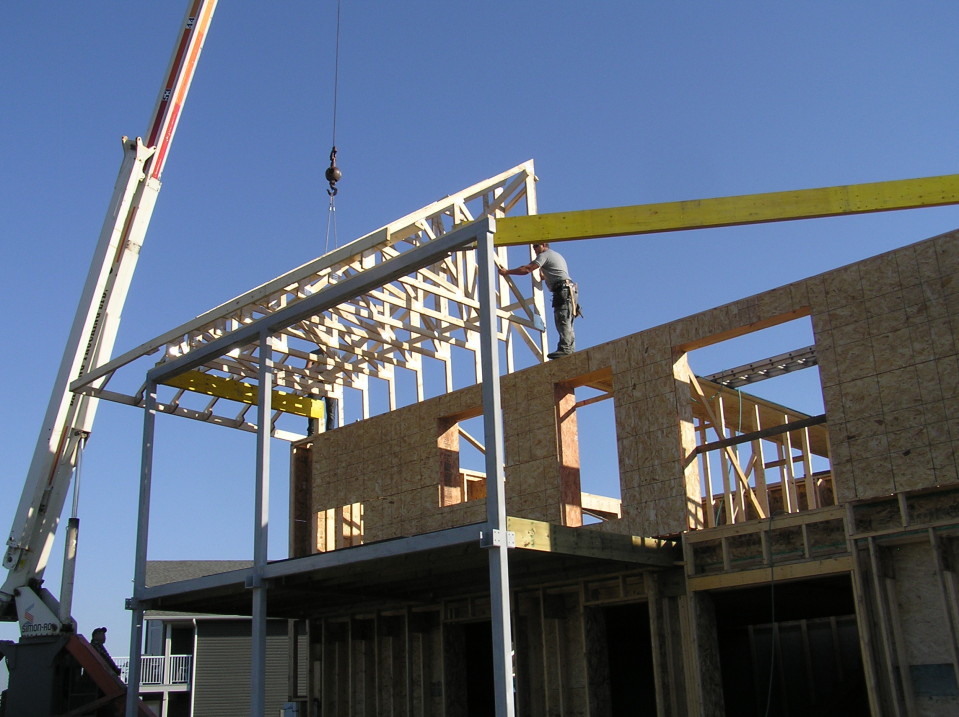
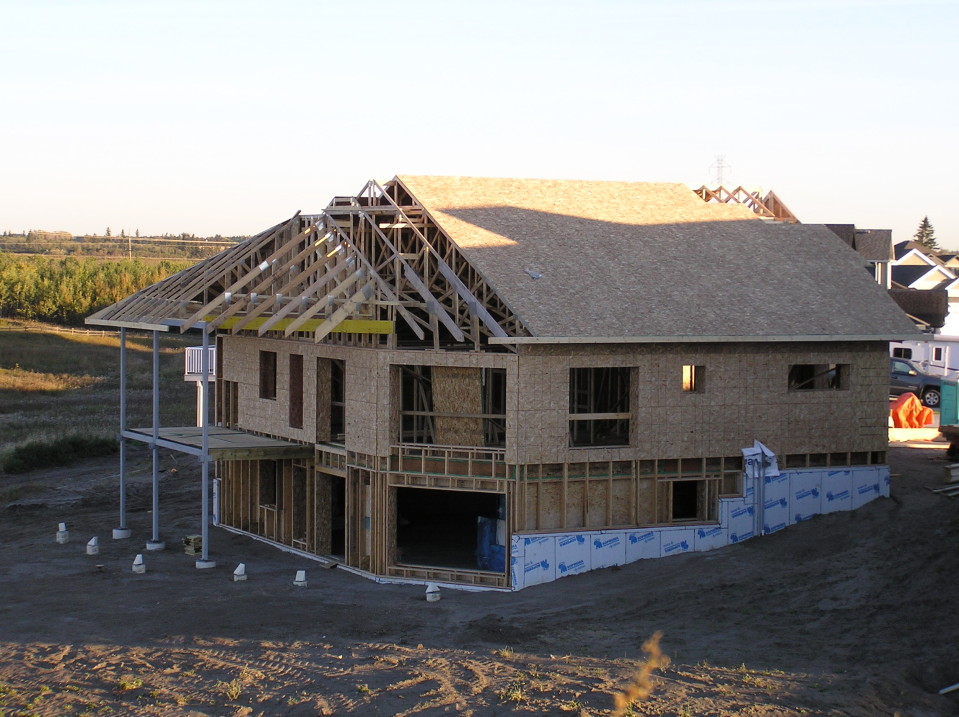
This view shows the south gable end wall, which also marks the limit of the thermal envelope. (The deck overhang is uninsulated.)
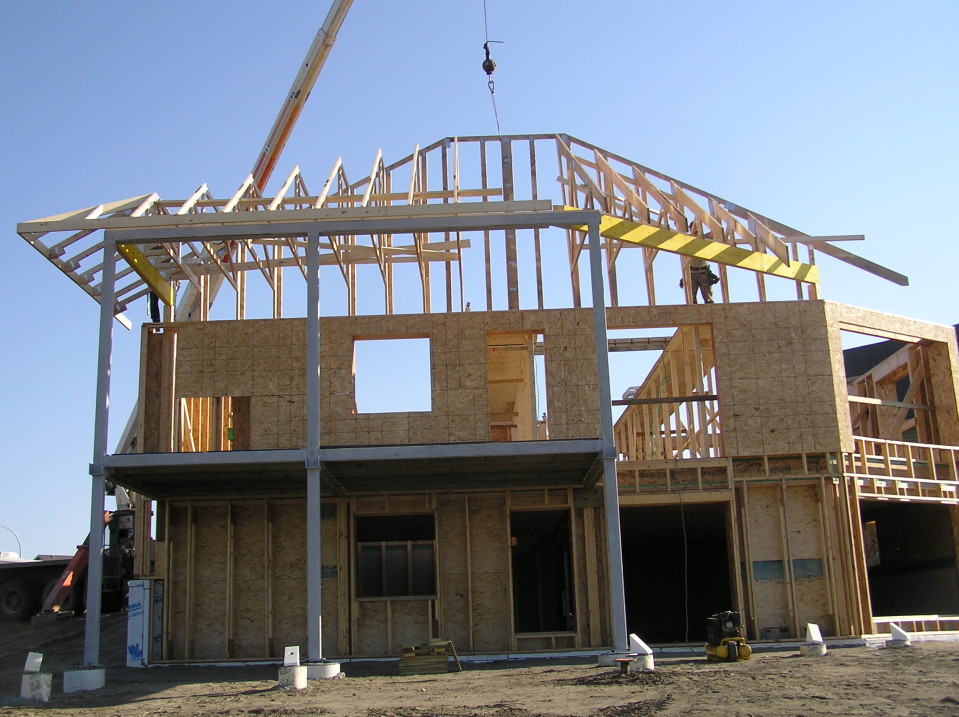
Coming around to the front, you can see the basic truss profile. The flat part at the top will receive a small “piggyback” truss to complete the roof peak. The trusses can only be so tall due to transportation limits (i.e. the width of the truck trailer).
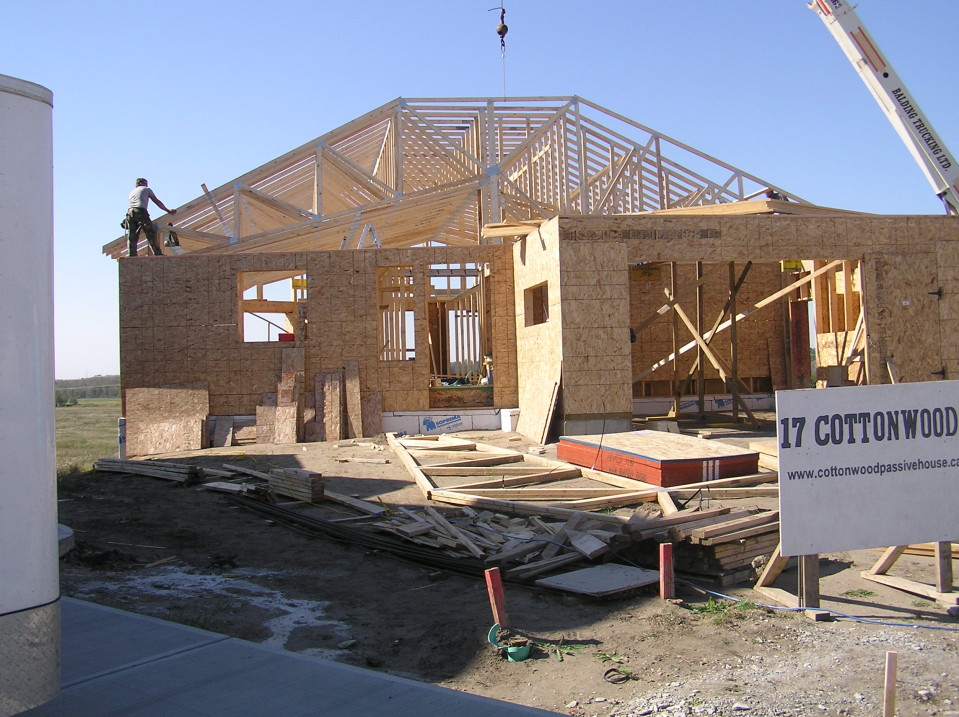
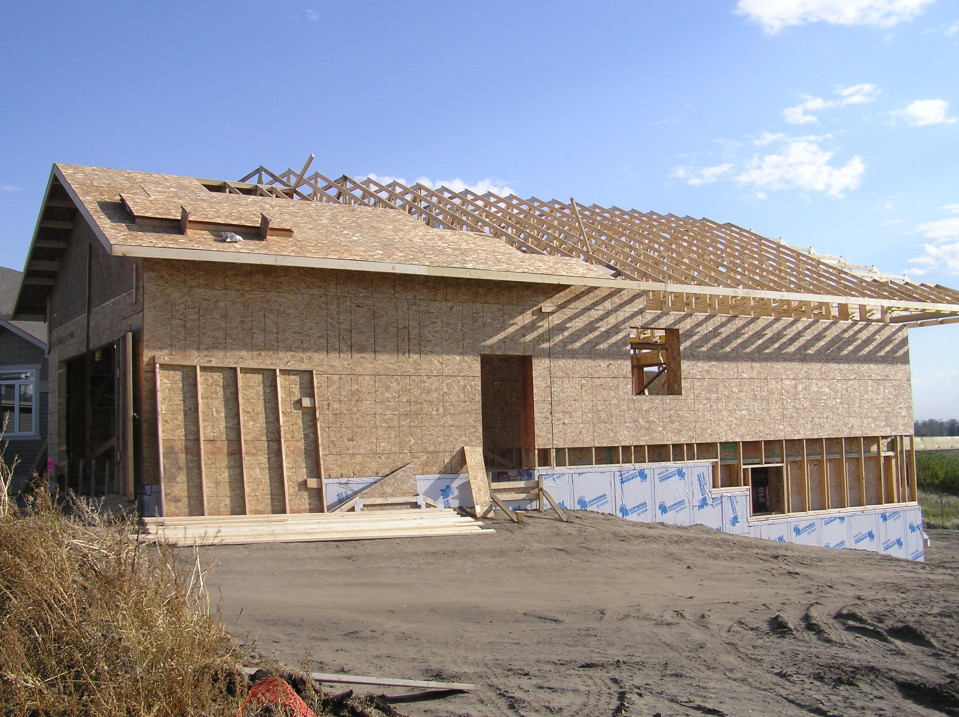
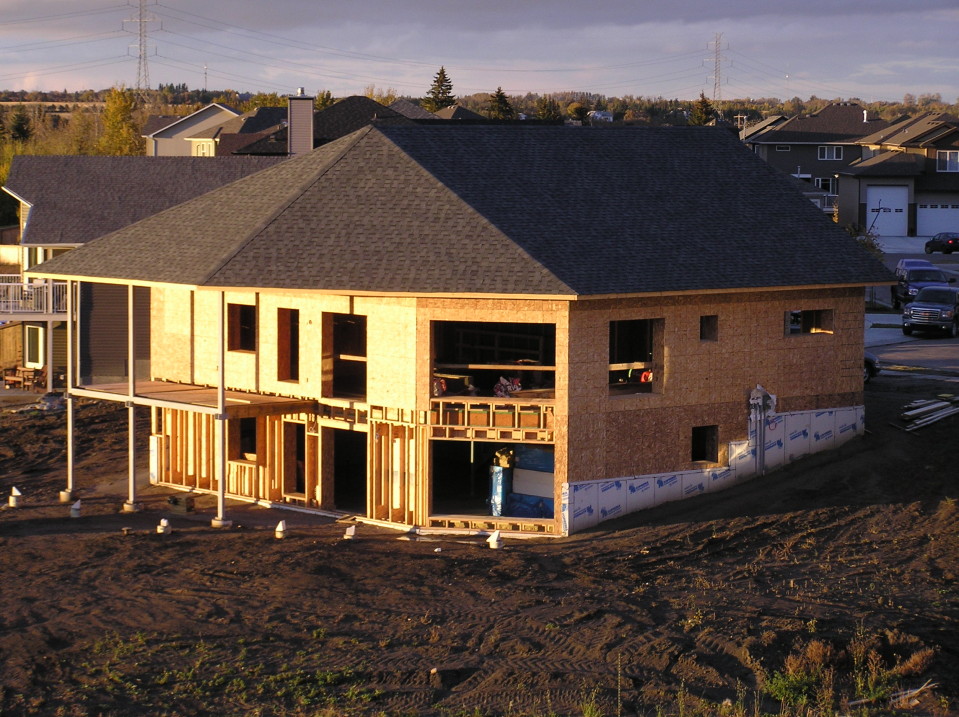
Another view of the front of the house.
With all the trusses up, sheathing quickly followed.
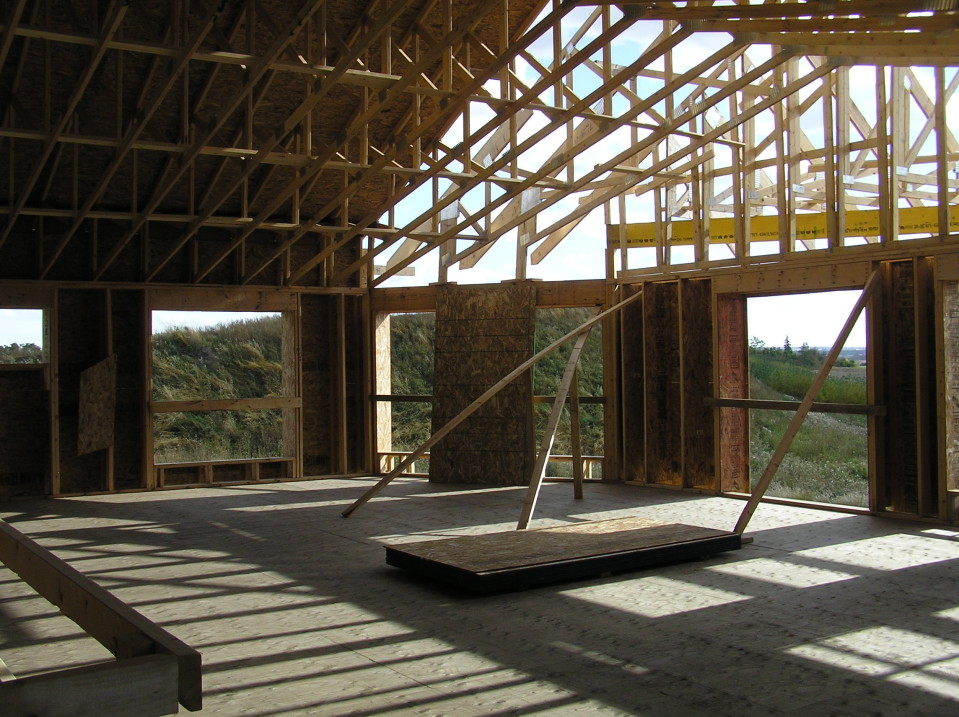
On the interior, we can finally get a sense of the overall volume. Looking back towards the master bedroom on the northeast corner…
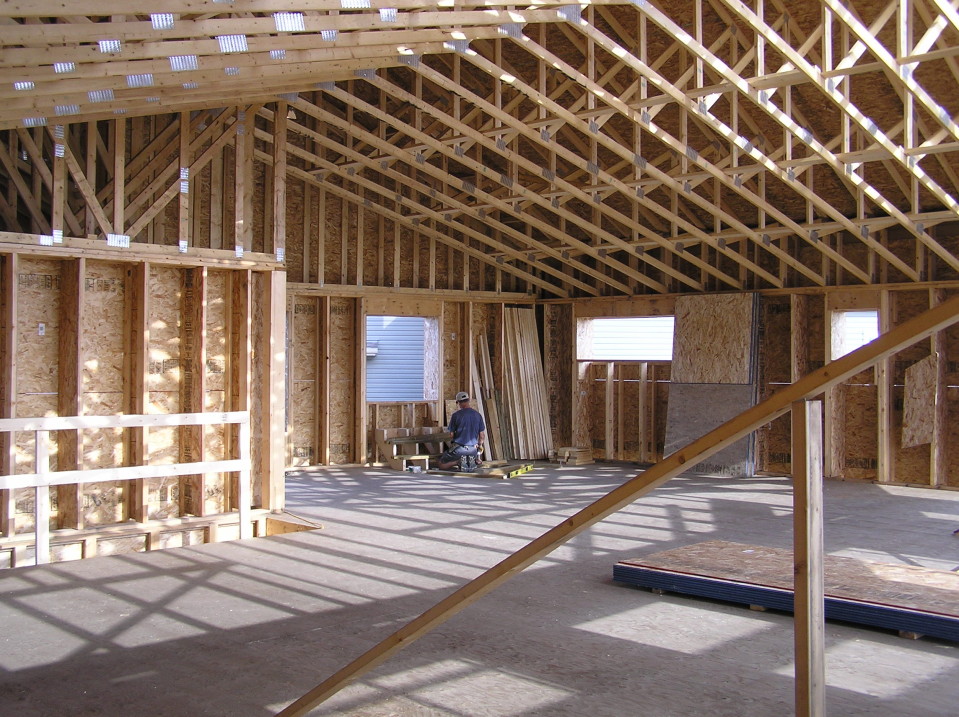
… and toward the living room.
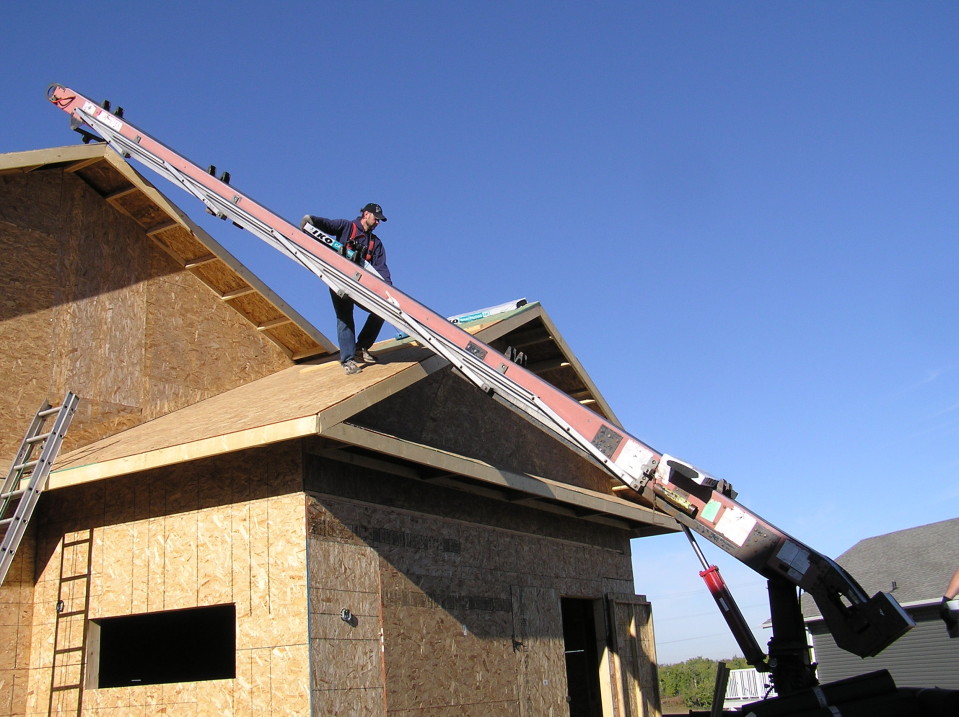
Shingling featured this unique device to load shingles onto the roof.
Shingles…
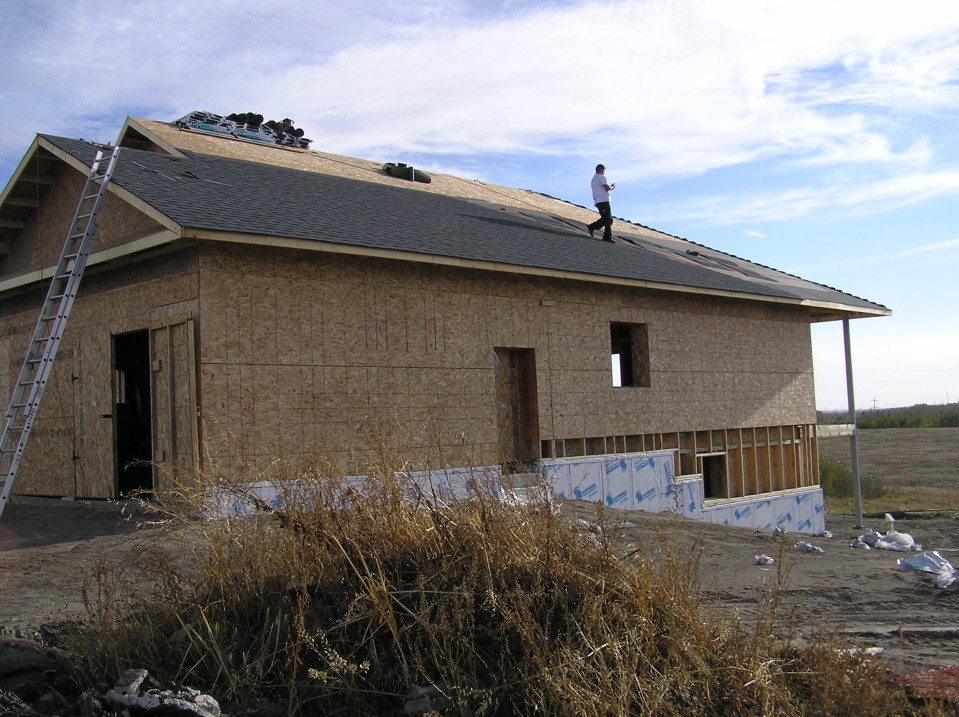
More shingles…
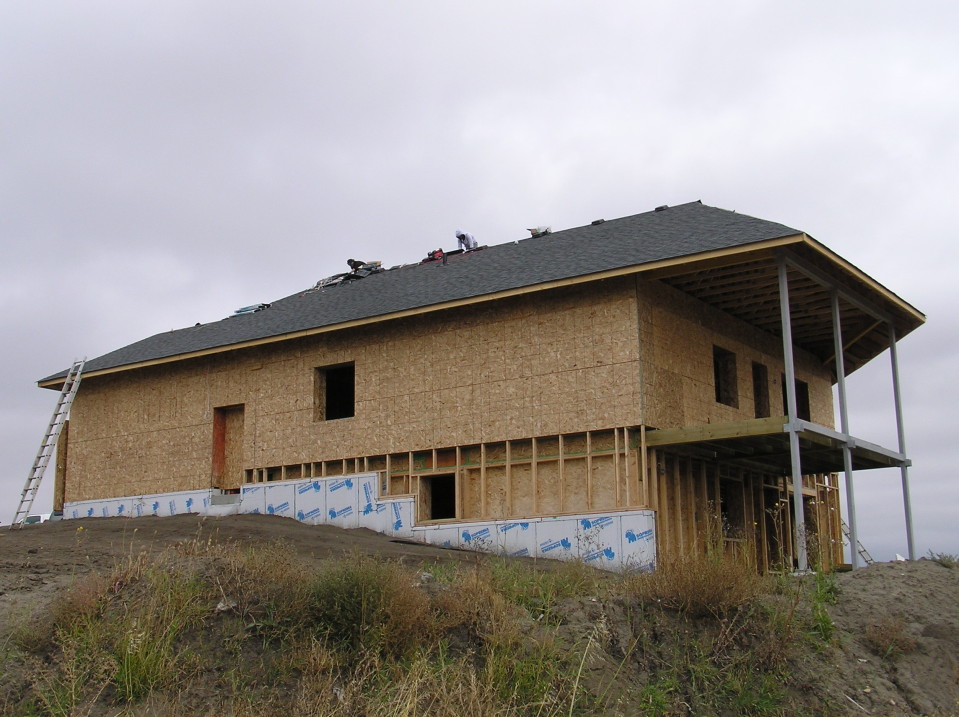
And the completed roof, looking almost ready for a good rain.
Previous: Basement Floor Slab Next: Insulation and Sheathing
Leave a Reply